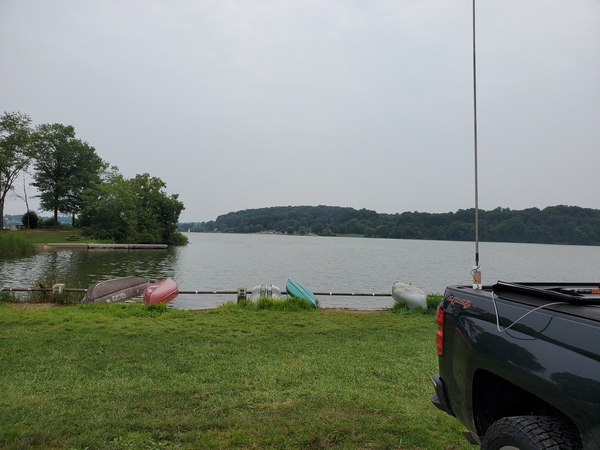
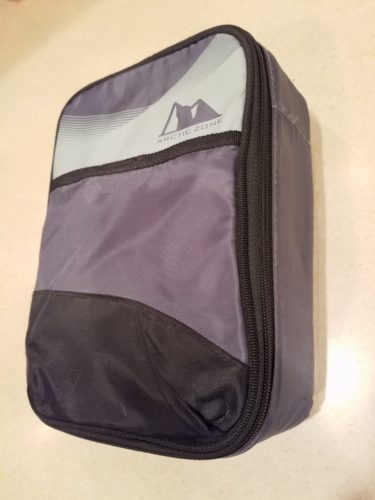
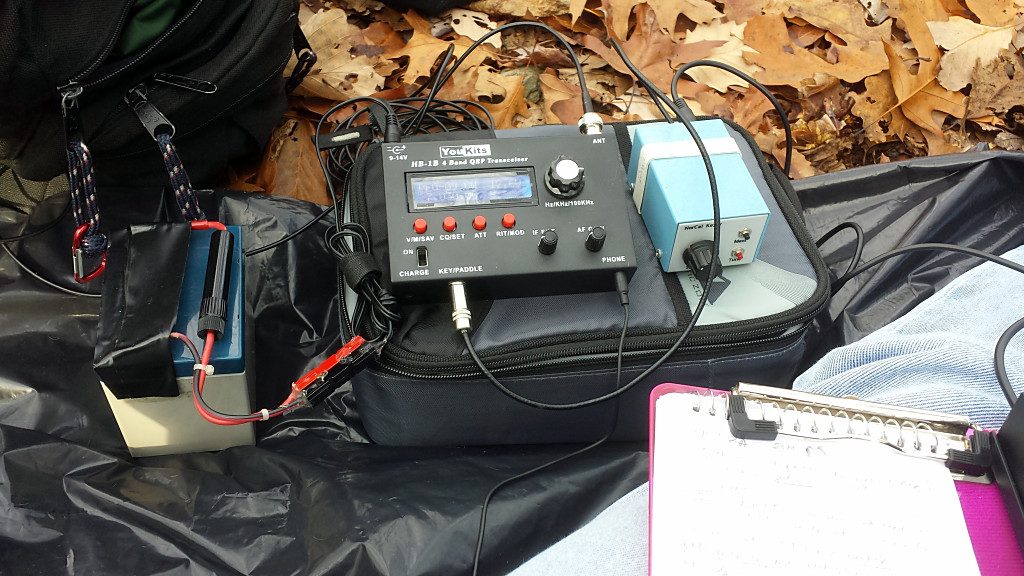
Feeling overdue for a little QRP-portable activity, I made an early morning run up to Evansburg State Park (US-1351, KFF-1351). As I was gathering up my stuff, I saw my old YouKits HB-1B sitting on the shelf looking forlorn. It had been quite a while since I last used it, so I grabbed it and threw it in the truck with the rest of my gear.
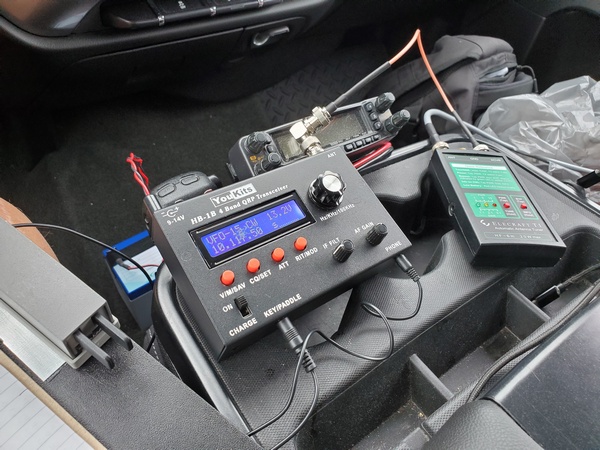
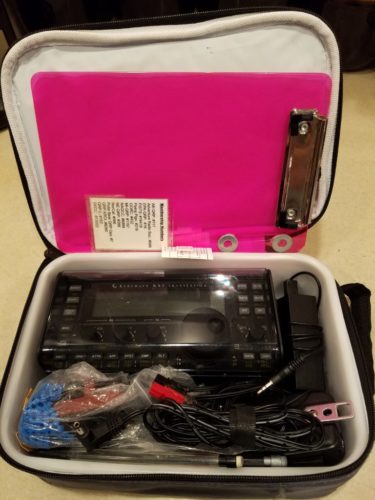
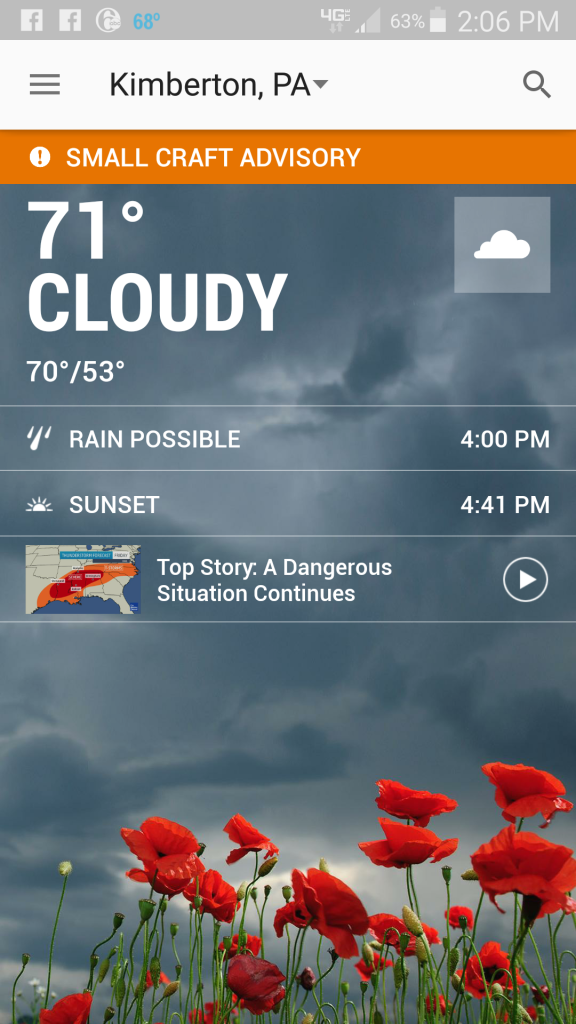
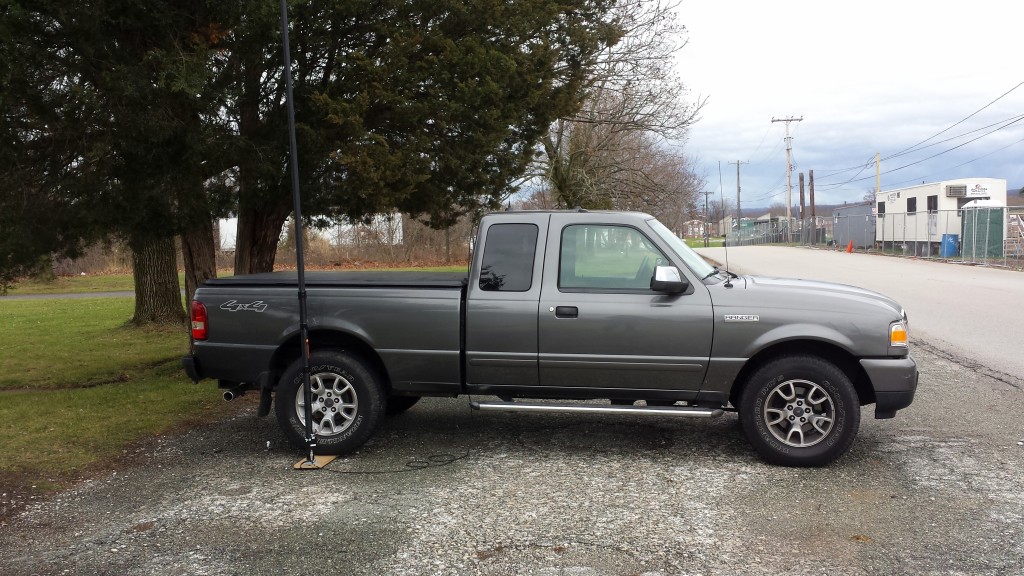
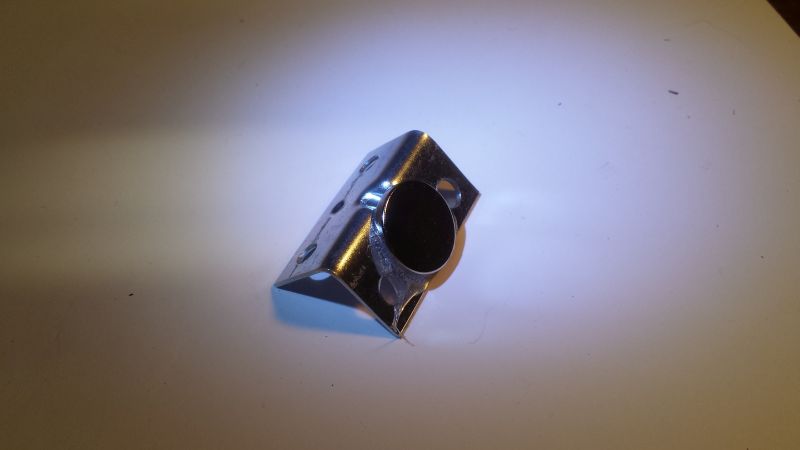
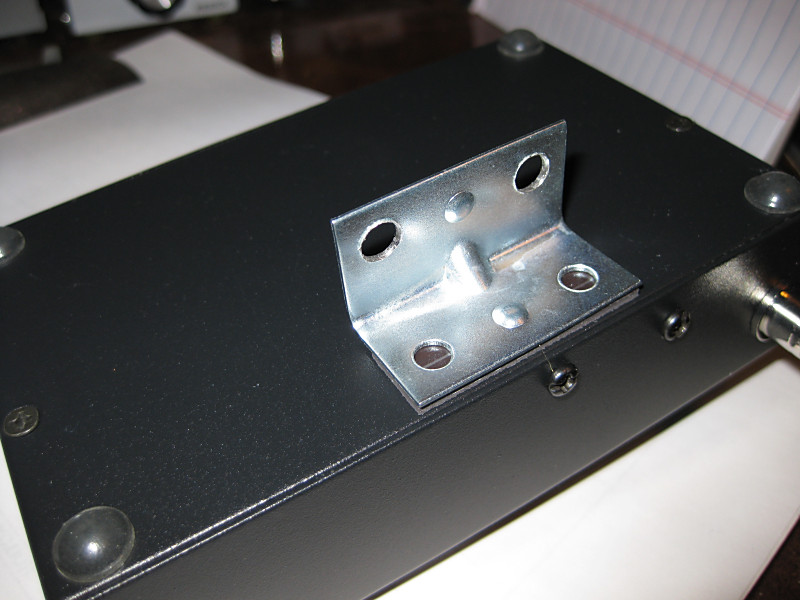
It was a cloudy morning, and I felt a couple of raindrops when I arrived. So, I installed my base-loaded 12-foot whip on the back of the truck and set up the HB-1B and Elecraft T1 tuner in the cab.
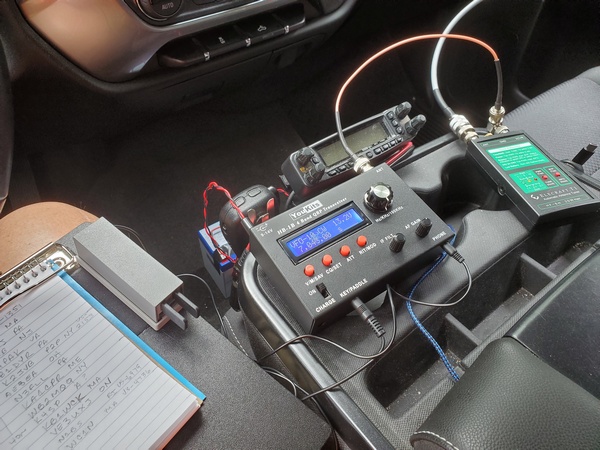
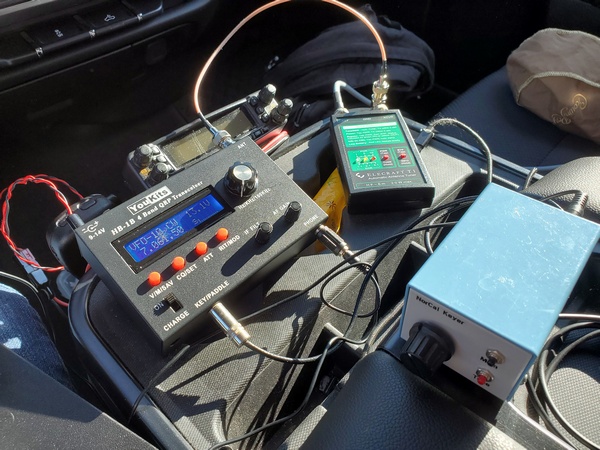
The HB-1B has one CW message memory, but it’s a fixed format. You can add your callsign, but you can’t edit the format of the CQ message. Normally, I bring an external keyer to automate my CQ sending, but I forgot to pack one as I ran out the door. So, I would have to send my CQs manually.
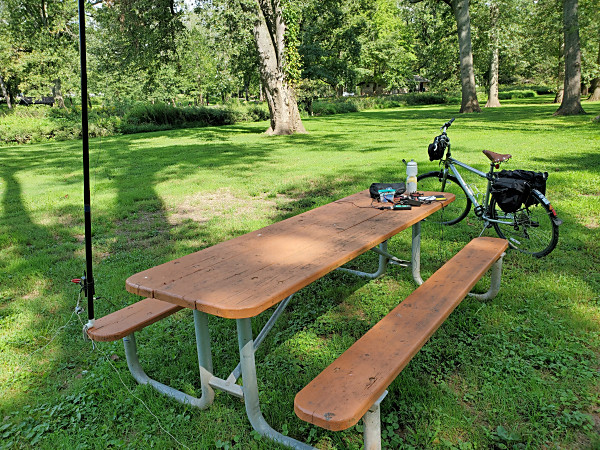
Fortunately, it only took about two CQs on 40M before the hunters started calling. The calls rolled in steadily for the first 15 minutes, before the activity started thinning out.
I jumped up to 20M, but about 15 or 20 minutes of CQing only produced two contacts. I dropped down to 30M, where I picked up one more before calling it quits. After an hour, the HB-1B netted 18 contacts, six of which were park-to-park.
I have had the little HB-1B for about 13 years or so, and it’s still hanging in there. For the first three or four years, it was my primary portable rig. The sidetone has some annoying clicks, so it isn’t always the most pleasant rig to use. Still, I’ve had a lot of fun with it over the years.
I need to rotate through my older rigs more often to make sure they get their fair share of time in the field.
72, Craig WB3GCK