I’ve been very happy with the soft case that came with my Elecraft KH1 Edgewood Package. It has room enough for the KH1 and most of the accessories I typically use with it. Although I’ve been very careful with the KH1, I somehow damaged the stock Elecraft paddles that came with it. I’m not sure how I managed to do that, but that prompted me to start looking into a hard case for transporting this expensive little radio.
[Note: This post is not sponsored, and there are no affiliate links.]
Fortunately, others have gone before me in this quest, so there are a variety of boxes that others have tried. KR8L wrote a blog post about using a Pelican 1040 case for his KH1. K4SWL had a blog post and an excellent video showing a bunch of hard cases suitable for the KH1. Somewhere online I saw mention of the Apache 550 as a less expensive option from Harbor Freight. Commercially, Tufteln sells a Pelican M40 case modified to fit the KH1 and its whip antenna.
Now that I had a mind-boggling array of options to consider, it was time for the next phase of my project: over-thinking and over-analyzing.
While most KH1 users carry the bare minimum of items to get on the air. I, however, tend to over-pack. With the original soft case, I could carry everything I needed for pedestrian-mobile, picnic-table-portable, and stationary-mobile operations. Being a soft case, it has a little “give” to it when I squeeze in some extra items. So, for my purposes, I wanted a box at least large enough to hold everything I carried in the soft case.
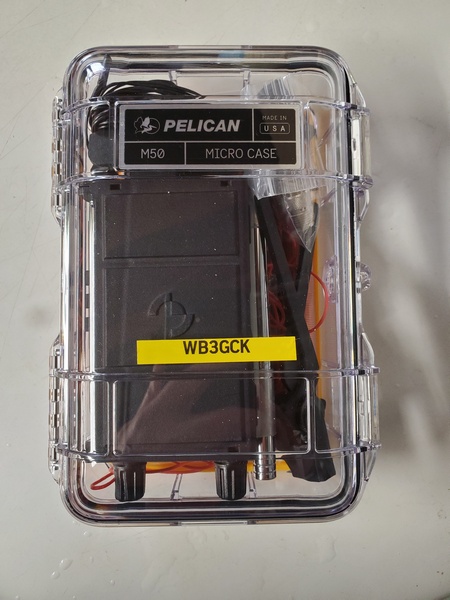
After much agonizing, I settled on the Pelican M50. With exterior dimensions of 8.10 x 5.50 x 2.90 inches, it’s somewhat larger than others use. However, it easily holds everything I carried in the soft case—and then some.
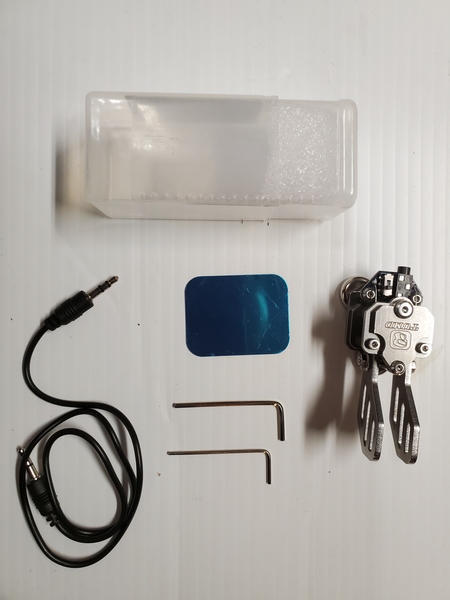
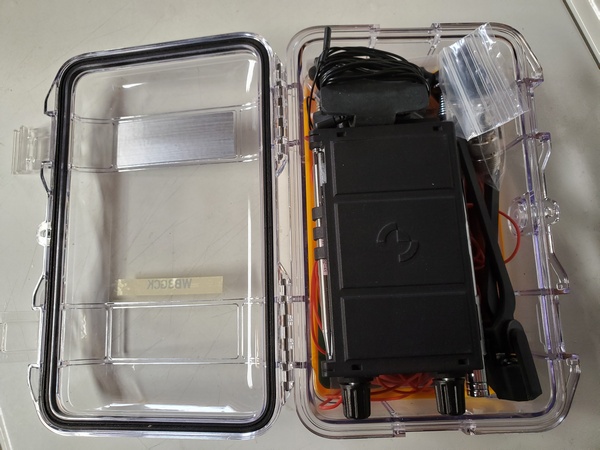
Here’s what I have in there:
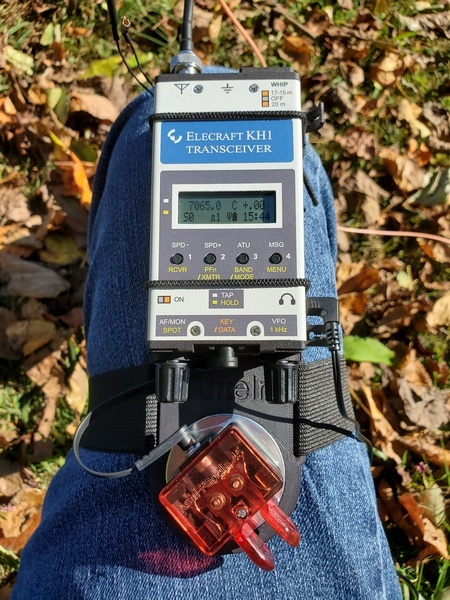
- Elecraft KH1 Edgewood package
- (2) 13-ft counterpoise wires
- (1) 20-ft counterpoise extension for 40M
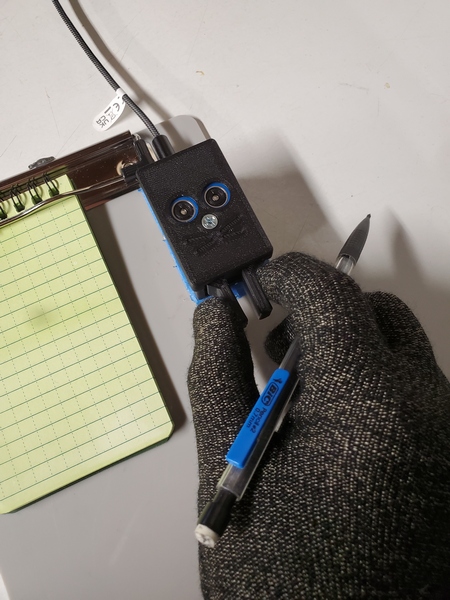
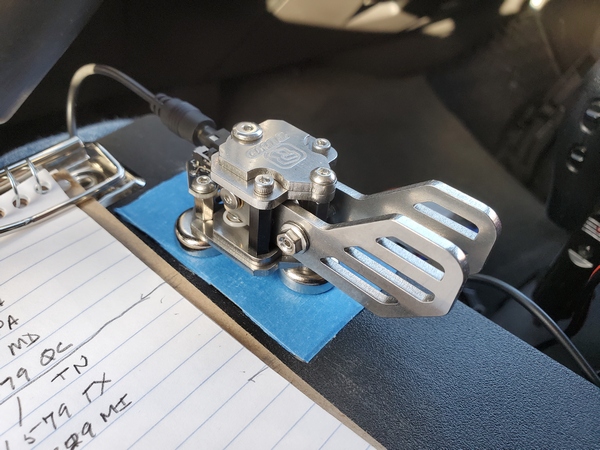
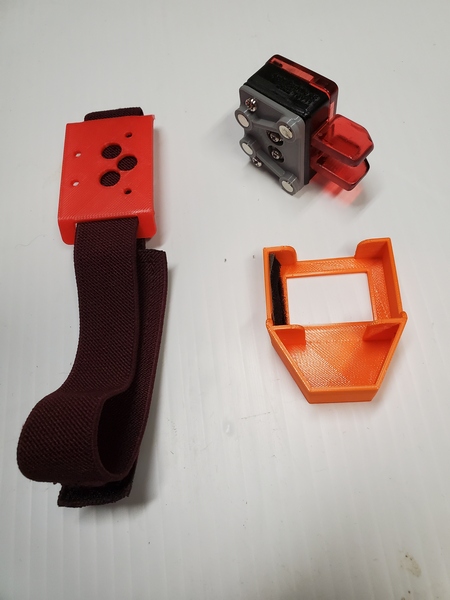
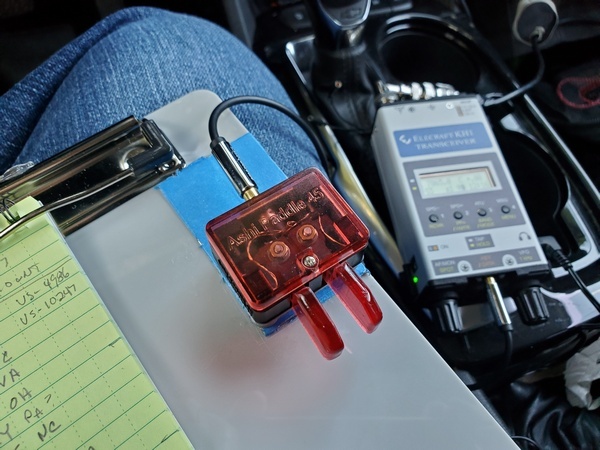
- K6ARK Pressure Paddle
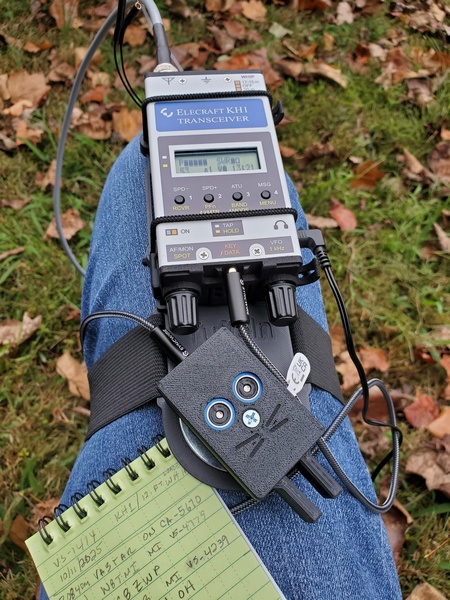
- N6ARA TinyPaddle & KH1 Adapter
- Earbuds
- Elecraft AXE1 40M Extender
- Tufteln Angle Adapter
- Tufteln Right Angle Adapter
- SO-239 to BNC-M adapter
- Right angle BNC adapter
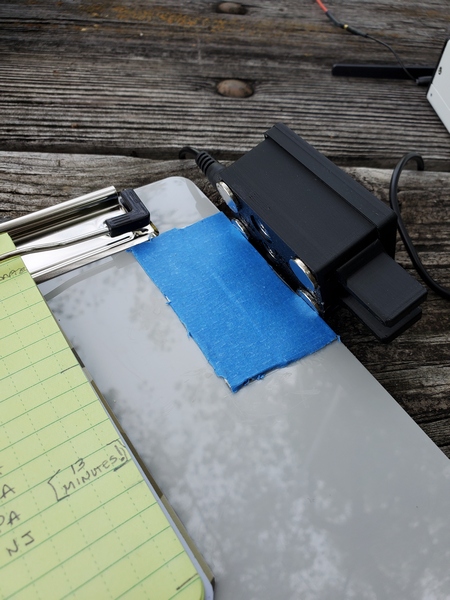
I placed the KH1 on top of the counterpoise wires for some cushioning, but the KH1 still flopped around a bit. I found that placing a 3×5 inch notepad under the KH1 kept it in place with the lid closed. So, the notepad and a full-size mechanical pencil are now part of the kit. No problem, since they will get used for picnic table operations.
Although I already have a bunch of stuff packed in there, I’m still thinking about adding a random wire antenna and maybe some throw line. I might just keep that stuff in my backpack, though. We’ll see.
So that’s what I wound up with. In typical fashion, I probably packed more than I should have, but the overall weight of my backpack hasn’t increased very much. Plus, I like to think I’m minimizing the possibility of forgetting something in the field.
72, Craig WB3GCK