I bought the Ashi Paddle 45 from N6ARA Electronics last year. While I like the paddles a lot, the magnetic mount wasn’t strong enough for the way I operate. I did a quick and dirty mod to address that issue.
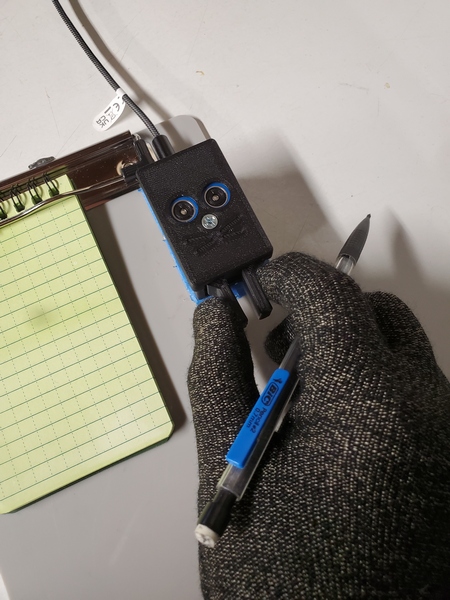
I’m not a huge fan of holding paddles in one hand while keying with the other. I have operated like that and probably will again, but that’s not my preferred technique. My preference is to use a small clipboard with steel strips glued on and a magnetic base on the paddles. Of course, this arrangement only works if the paddles have magnets strong to keep them from moving. This is a problem with some portable paddles.
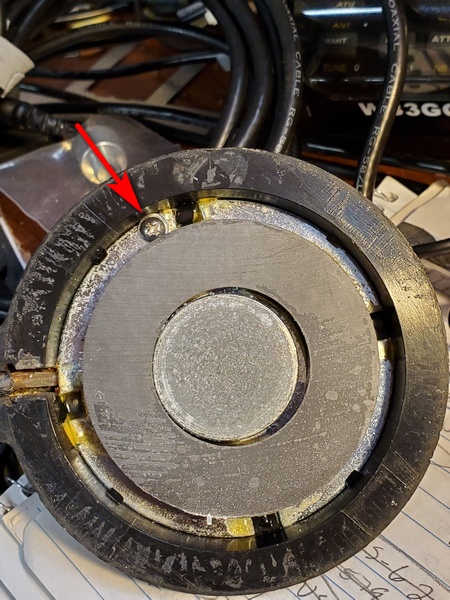
As with many portable paddles, the Ashi paddles are small and lightweight. As a result, the magnets on the included attachment are small and confined to the bottom of the base (out of necessity). This gives the paddle levers some mechanical advantage, allowing the base to slide side-to-side with vigorous keying.
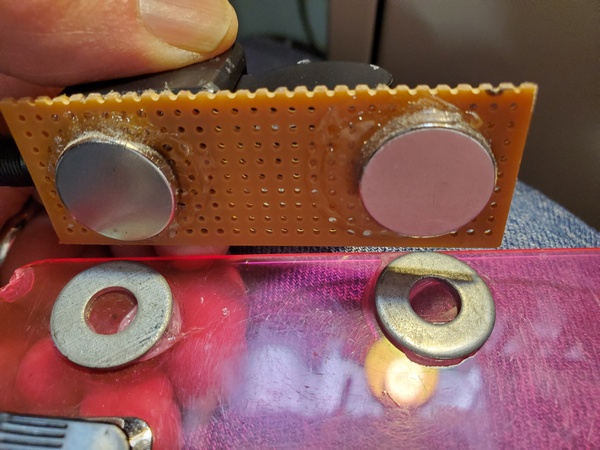
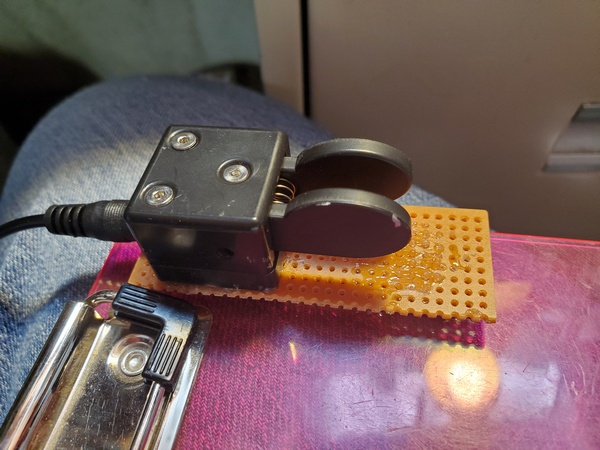
With the Ashi paddles, I used a mod similar to what I used for my QU-21 paddles. As luck would have it, I had a scrap piece of fiberglass perfboard that was just about the perfect size. What are the odds of that? Then, it was a simple matter of drilling a few holes, using the original magnetic mount as a template.

Initially, I used just the two original screws to attach the board, but I could feel a little vertical flexing when I used the paddles. I finally added a couple of strips of two-sided foam mounting tape, and that seemed to do the trick.
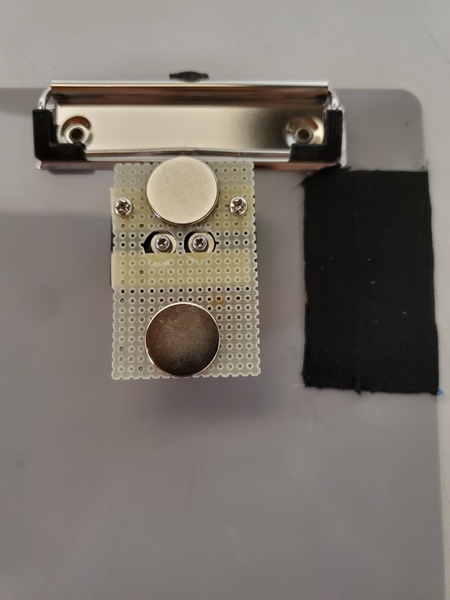
The other issue I run into is highly polished magnets. Even though I used some powerful magnets, their slick finish still allowed a little sliding. While searching for something thin that would provide a little friction, I stumbled across hockey grip tape. This is the cloth tape used on hockey sticks, baseball bats, etc., to provide a better grip. I bought a roll on Amazon to try—they had a bunch of options to choose from. My grandson plays hockey, so if the tape didn’t work for me, he could use it. Fortunately, the tape was a definite improvement.
So, this quick little mod made the Ashi paddles better suited to my clipboard use case. Is it ugly? Yes. Is it functional? Also yes. Regardless, these paddles should see a lot more action in the field now.
72, Craig WB3GCK