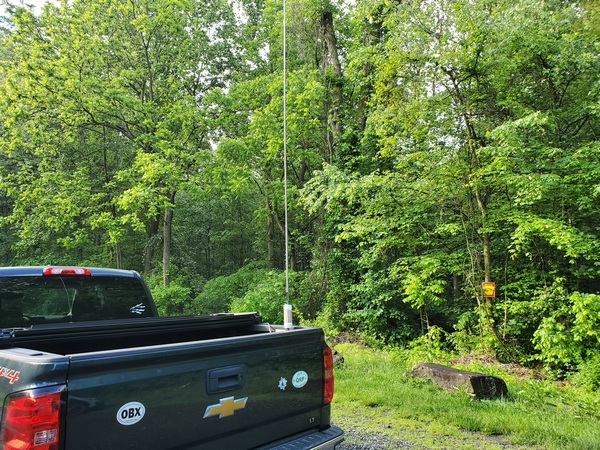
In my last post, I talked about using a simple antenna comprising a 15-foot radiator, a 7.5-foot counterpoise, and a 4:1 unun. It worked well, but I found it a little touchy to tune on 40M. Today, I tried the same configuration, but with a slightly longer radiator and counterpoise.
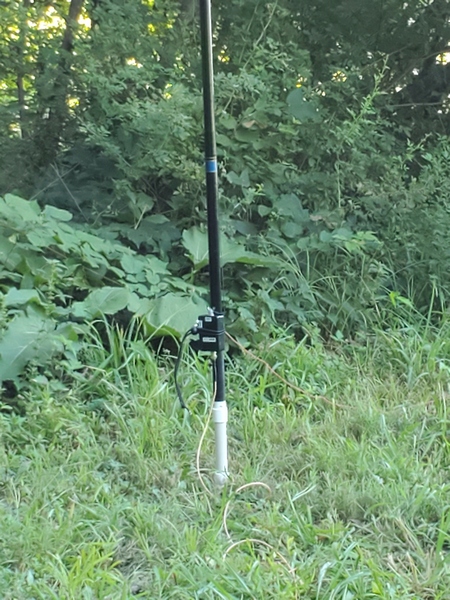
I wanted to add a little length to the radiator, but limit it to 19 feet, so I could still use my lightweight 19.5-foot telescoping pole to support it. Looking at a table of random wire antenna lengths to avoid, it seemed like 18 feet might be a good choice for 40M through 15M, my primary bands of interest. Scaling the counterpoise wire proportionately, I went with a length of 9 feet.
Just as I was getting ready to cut a set of wires to try out, I stumbled on a video by Thomas K4SWL. In the video, he was using an antenna built by AD8HK that used a radiator length of 17’9” and a counterpoise length of 8’10.5”. I went with those dimensions, since they were very close to what I was considering and seemed to work with Thomas’s KH1.
On the Air
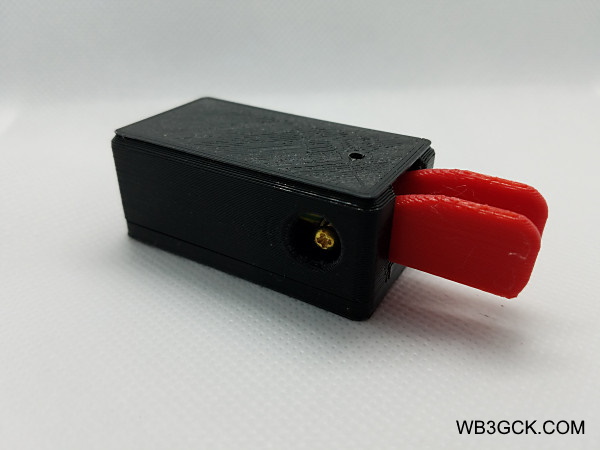
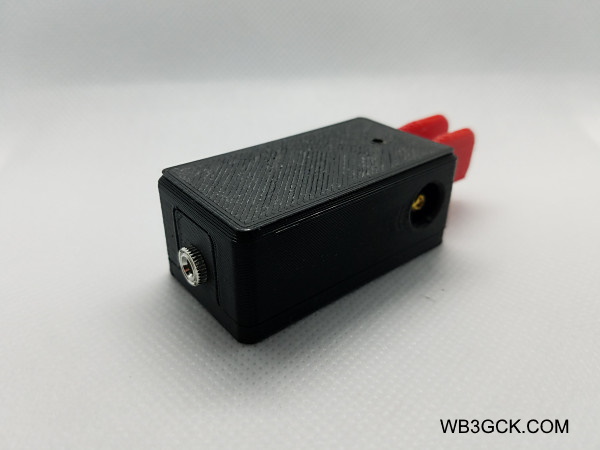
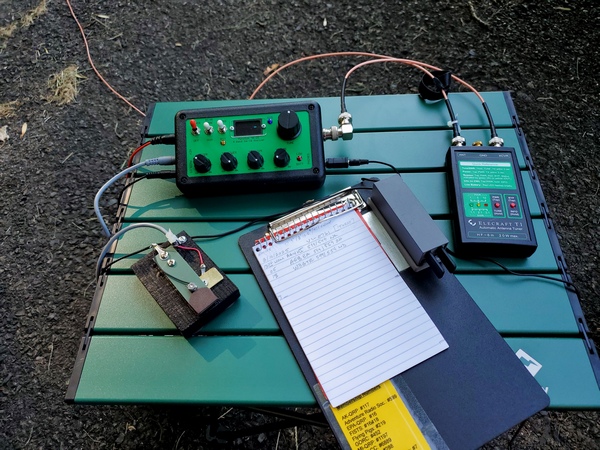
To try it out, I made a quick trip over to Valley Forge National Historical Park (US-0761, KFF-0761). Using the same 4:1 unun and coax as the last time, I made a quick check to see how my Elecraft T1 loaded up on the bands. The tuner quickly found a match on 40M, 30M, 20M. On 17M, however, it seemed to struggle. I went back to 40M and got started with my activation.
This wasn’t the best day to be doing this. The geomagnetic field was unsettled with a K index of 4 and the A index sitting at 47. Nevertheless, the callers showed up, although at a somewhat slower pace than usual.
After I had 14 contacts in the log, I decided to spend the rest of my limited time playing around with the antenna. When I went back and checked 17M, the T1 tuned it up without flinching. I also rearranged the counterpoise wire so it ran 180 degrees opposite of my coax. Checking the bands again, the T1 reliably matched 40M through 17M.
Convinced that the new wire lengths work, I went back to the 15-foot radiator and 7.5-foot counterpoise I used a few days earlier. This time, the T1 had no issues loading up on 40M. Go figure!
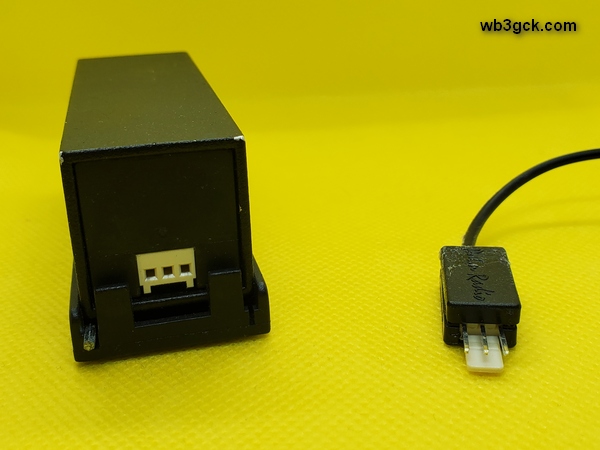
I really wanted to give the unun with the smaller ferrite core another shot. When I last tried it with the 15-foot & 7.5-foot wires, neither my KH1 nor my T1 could find a match on 40M. Unfortunately, I neglected to put it in my backpack before I left. I’ll have to save that for another time.
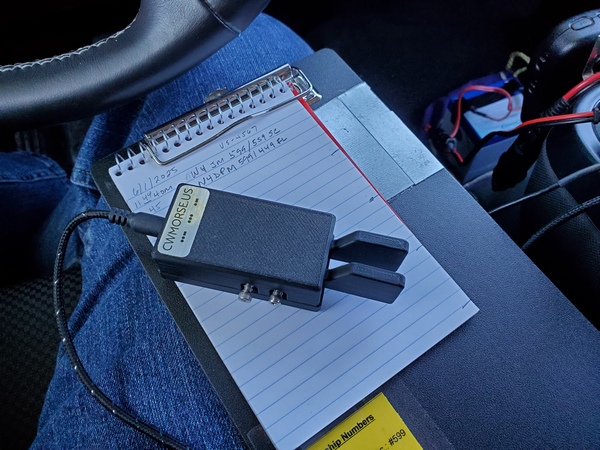
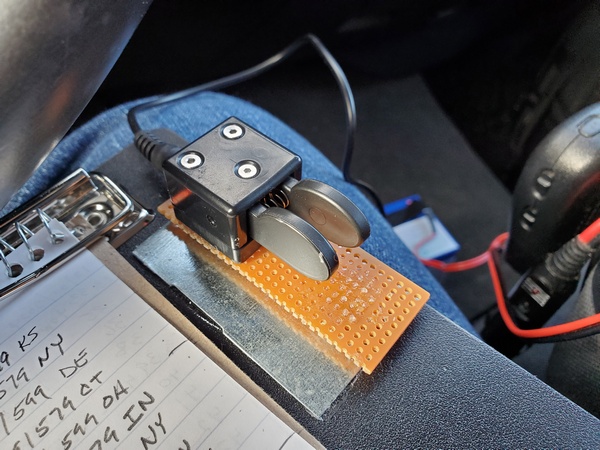
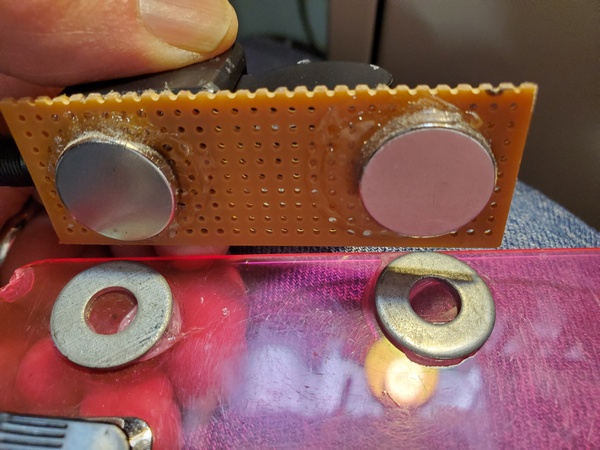
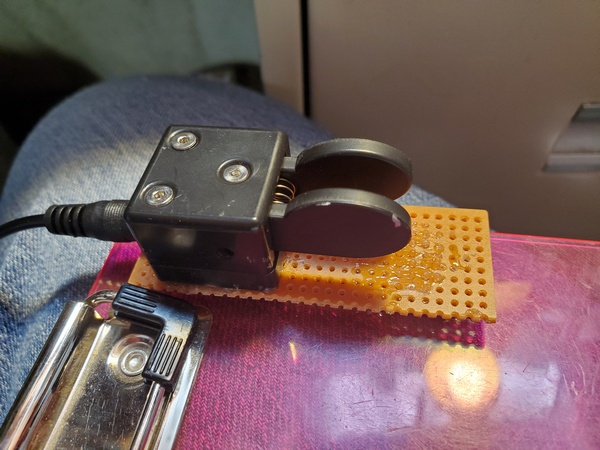
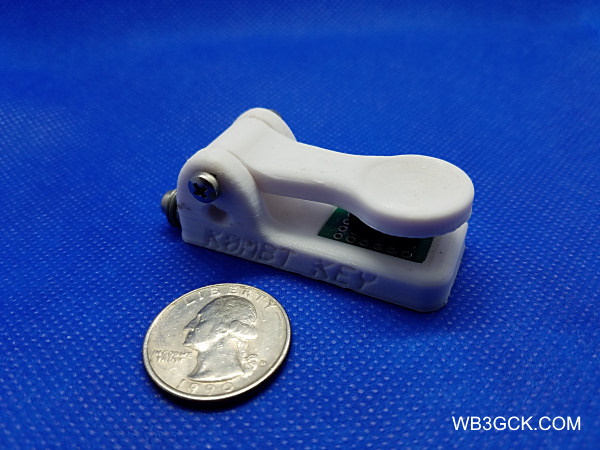
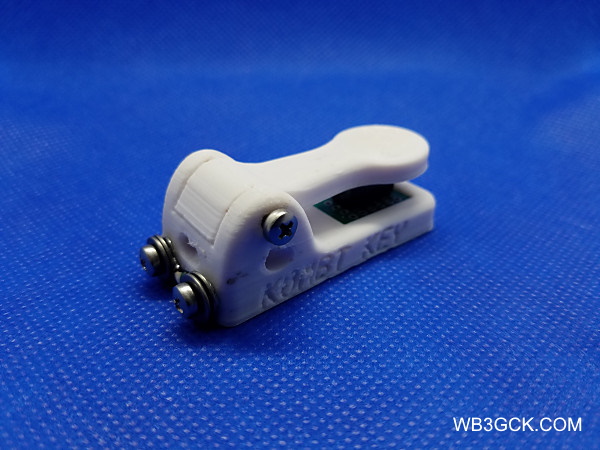
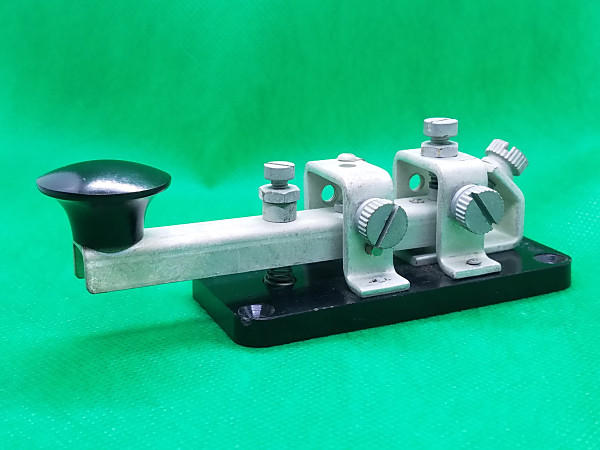
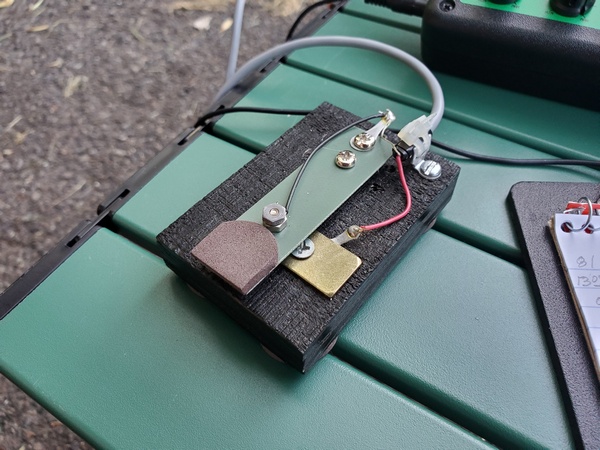
The Straight Key Century Club (SKCC) Weekend Sprintathon contest was going on this weekend, and I worked one SKCC station while tuning around the bands. This month, the WES theme was homebrew keys. In the spirit of the contest, I made the contact using a straight key I built a few years ago from junk box parts.
Conclusions
So it looks like both the 15’/7.5’ and 17’9”/8’10.5” configurations are usable with my homebrew 4:1 unun. Given a choice, though, I would probably stick with the longer wires.
One other thing is clear: short random wires can sometimes be finicky little critters. When in doubt, rearrange the counterpoise wire.
72, Craig WB3GCK