When I bought the QU-21C Mini Paddles a while back, I wasn’t crazy about the small square magnet attached to the base. It didn’t seem to hold very well. When subjected to vigorous keying, the paddles would sometimes move side-to-side. I came up with a quick and dirty hack that resolved the issue for me.
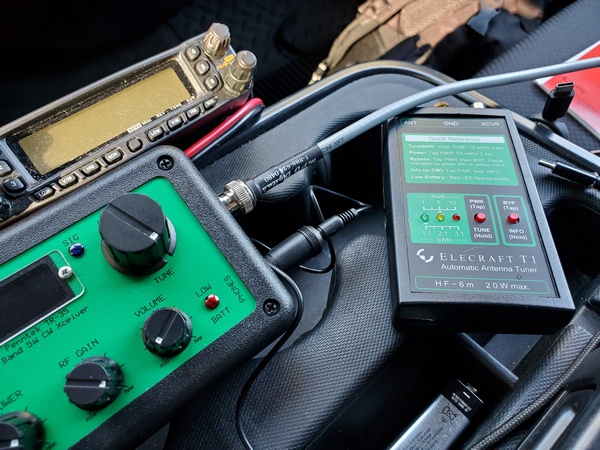
A little backstory is in order. I’ve never been a big fan of “two-handed” keying; that is, holding the paddles in one hand while sending with the other. I modified a small clipboard by gluing two steel washers to it, such that they lined up with the two magnets in my Palm Mini paddles. The clipboard securely holds the paddles and gives me a nice writing surface for logging in the field. I’ve been using clipboards like this for about 10 years now.
In just a few minutes, I modified my QU-21C paddles to adapt them to my clipboards and make them more suitable for “single-handed” keying. The first order of business was to remove the square magnet from the bottom of the paddles. That was almost too easy. I wedged a knife blade between the base and the magnet, and the magnet popped right off.
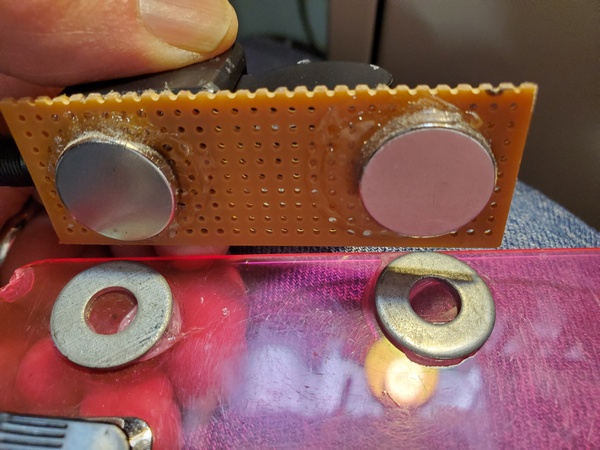
Next, I took some perf board from my junk box and cut off a 3.5 x 1 inch piece. I used some Goop® adhesive to attach two magnets on one side of the board. I placed them so they had the same spacing as the magnets on my Palm paddles. Then I glued the QU-21C paddles to the other side of the perf board. Except for the drying time for the adhesive, I completed the project in about 10 minutes.
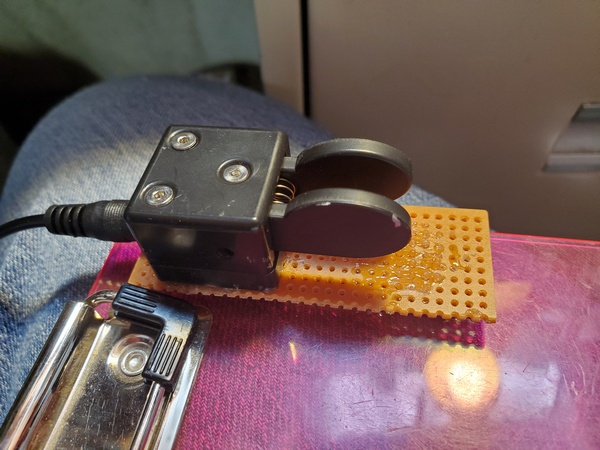
The magnets I used are really strong and probably overkill for this application. But, I had a bunch of them on hand, so I put them to use.
Admittedly, this cheesy little hack doesn’t look like much. If I feel ambitious sometime, I might come up with something more elaborate. Maybe something like the base I made for my little MS2 straight key. For now, though, this will suffice.
72, Craig WB3GCK