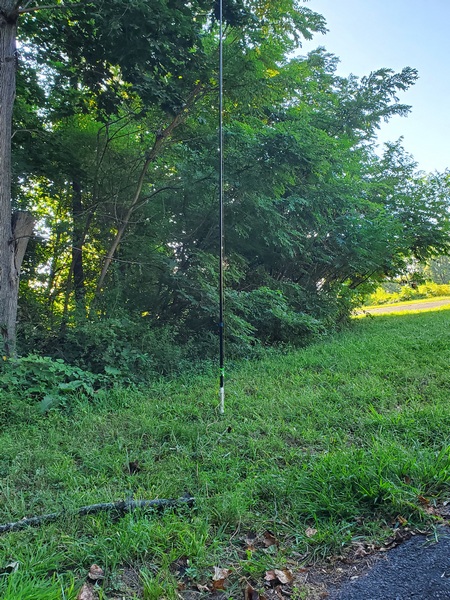
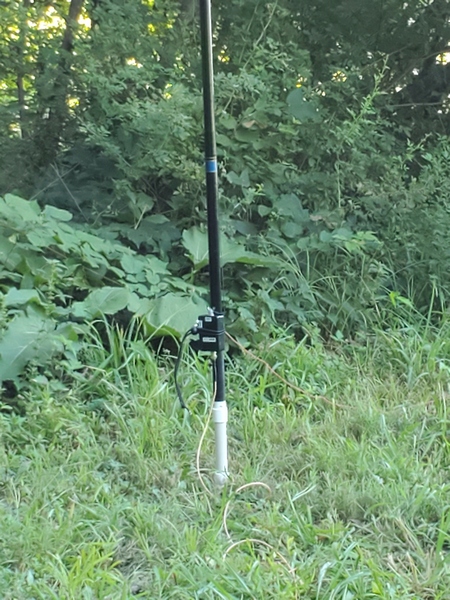
For several years my homebrew 19-foot vertical was my go-to portable antenna. Over the past two years, I’ve been using a variety of other antennas, relegating my trusty vertical to backup status under the backseat of my truck. I dusted it off recently to see how well the Elecraft KH1 would work with it.
I designed the antenna to be resonant on the 40 and 30 meter bands. On the 20M band and higher, it functions as a random wire, so a tuner is required. I was sure the KH1 would easily find a match on 40M and 30M, but I was curious to see how well it would fare on 20M through 15M.
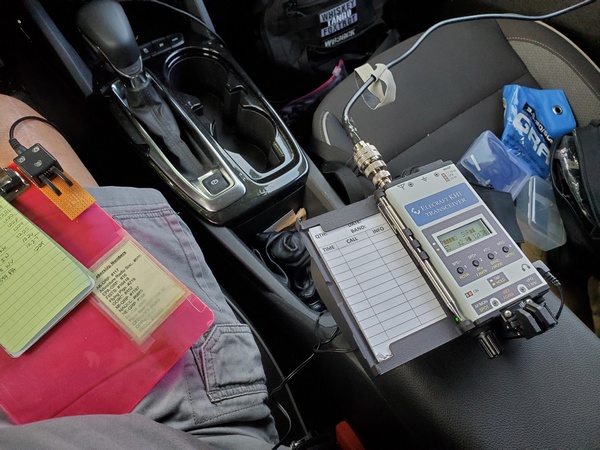
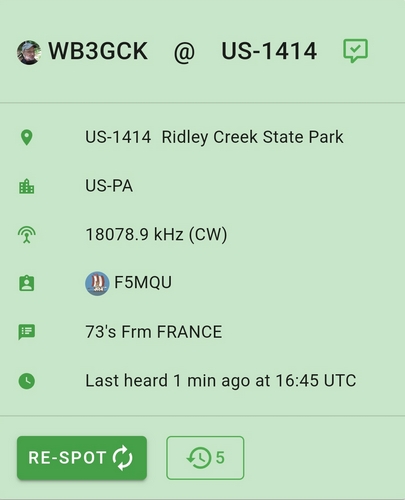
To test this out, I drove to Ridley Creek State Park (US-1414, KFF-1414). I had been to an ARES-RACES get-together that morning, so I swung into the park for a quick activation on my way home.
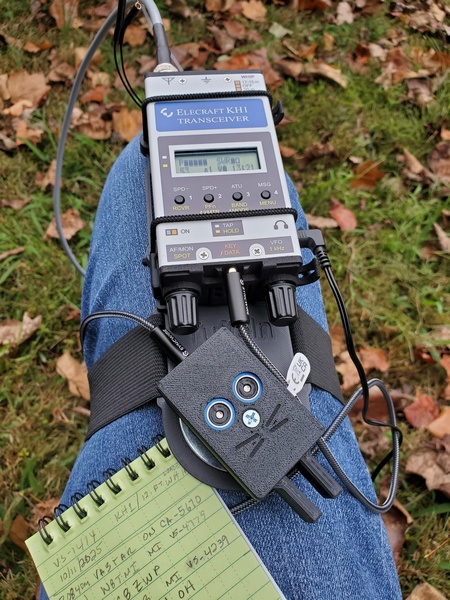
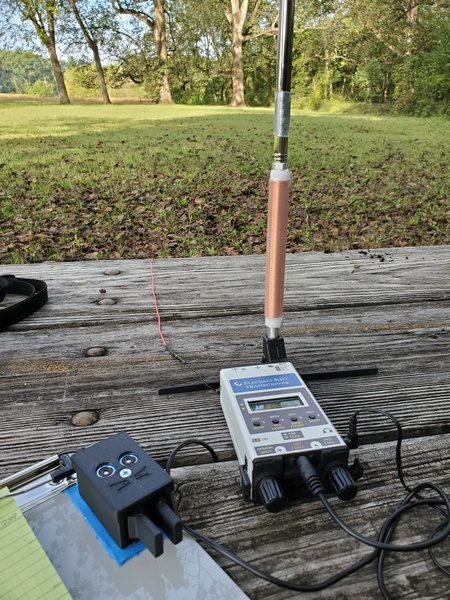
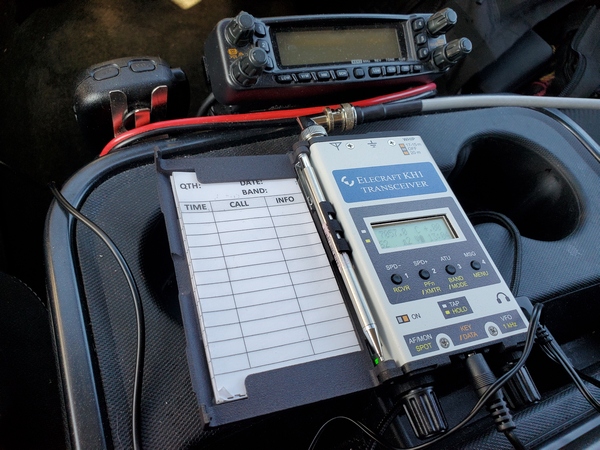
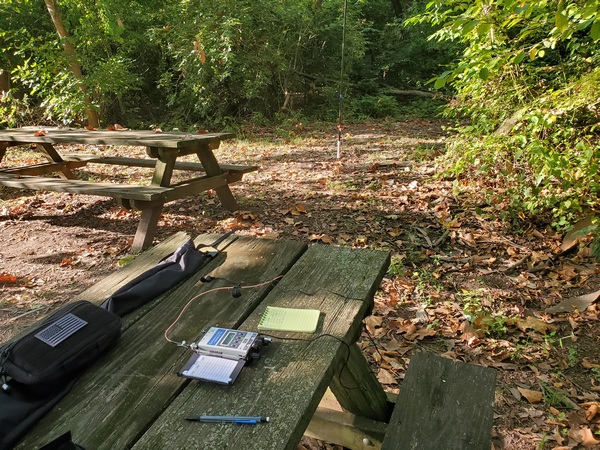
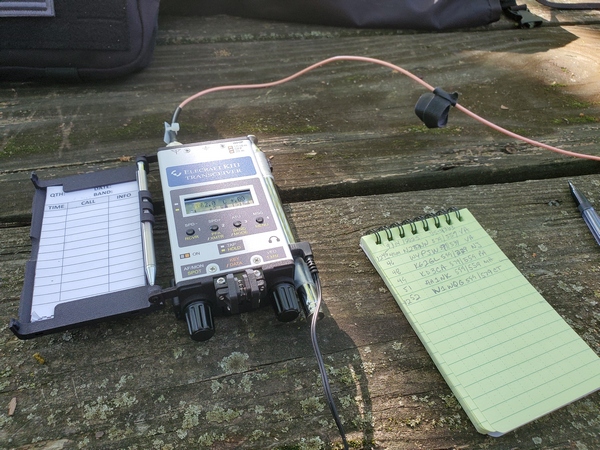
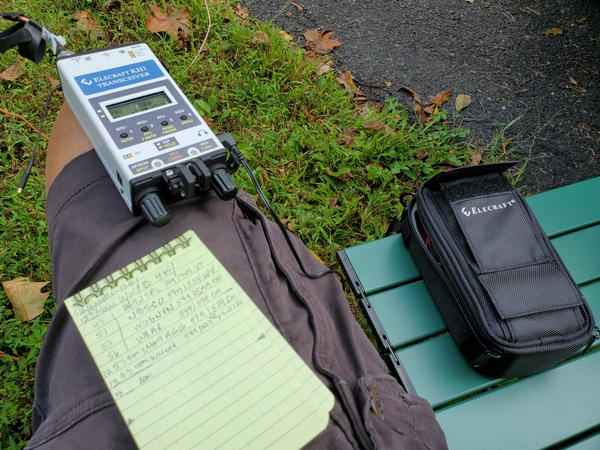
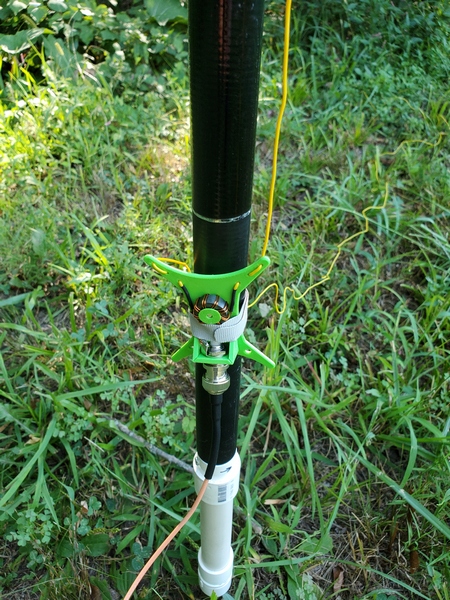
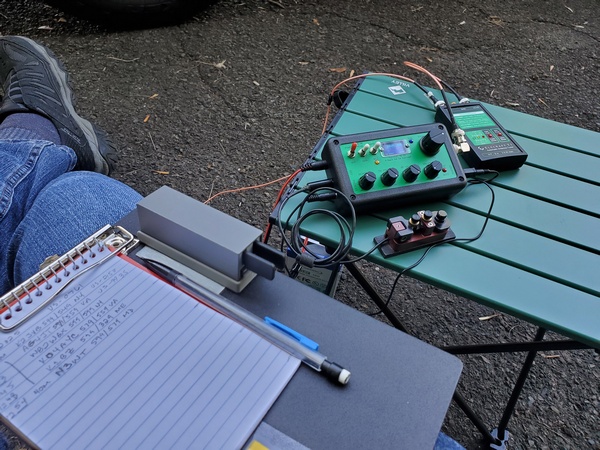
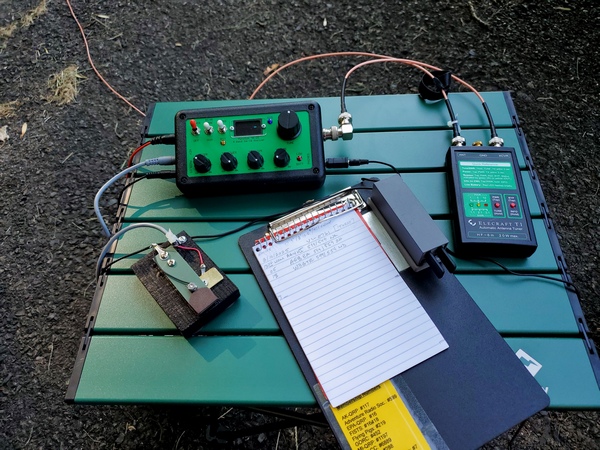
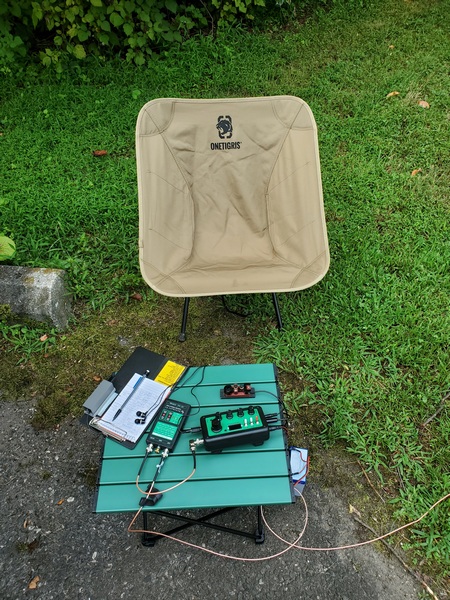
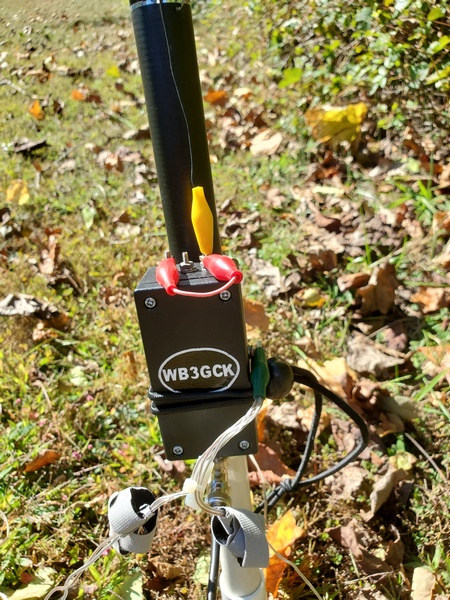
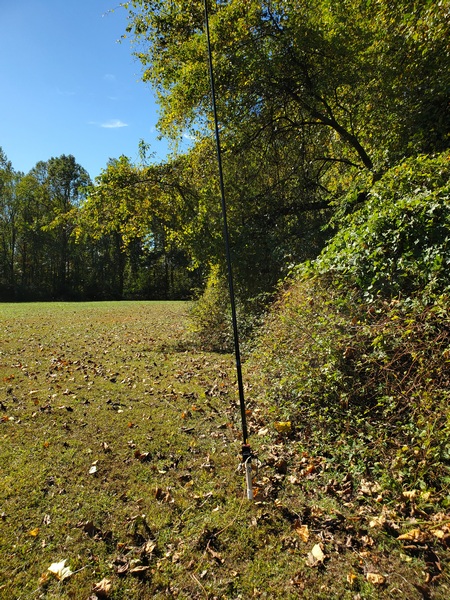
I set up at the edge of a field away from other park visitors. Since it was a weekday, the park wasn’t very busy, anyway. I supported the antenna on a cheap telescopic pole using my homebrew ground mount and spread out four 12.5-foot radials. From there, I ran 20-feet of RG-213 over to my camping chair, where I used the KH1 on a Tufteln KH1 knee board.
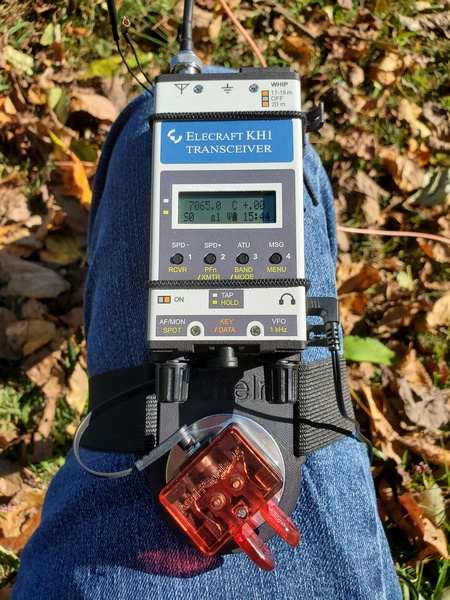
Before I got started, I tried the KH1’s internal tuner from 40M through 15M. It easily found a decent match on each of the five bands. The SWR on 15M was 2:1, which is certainly usable for the KH1.
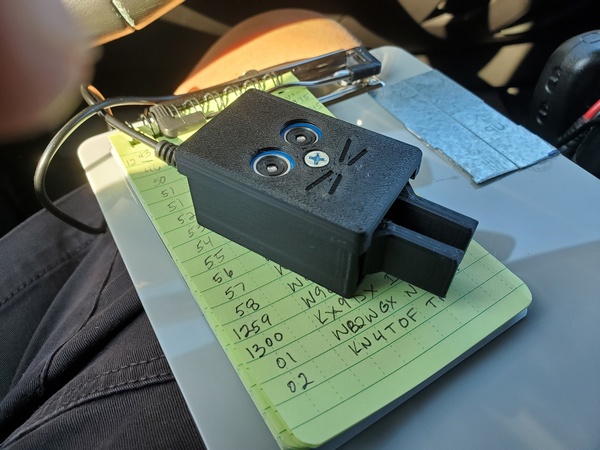
Despite some unsettled geomagnetic conditions, I made contacts on each band except 15M. (I didn’t hear any activity there this morning.) The antenna really worked well on 17M, where I had back-to-back contacts with F4ILH and F5MQU. Even with the geomagnetic wackiness afoot, I managed to log 16 QSOs. Five of those were park-to-park contacts.
It was good to get the old vertical out in the field again. I’ve been thinking about re-packaging it to reduce the size of the matching unit and eliminate the jumper used for band changes. That might be a good project for over the winter.
72, Craig WB3GCK