I was recently going through my stash of portable wire antennas and came across one of my old favorites—the doublet. I don’t see too many references to this type of antenna these days, but the doublet provides a great portable antenna option.
What is it?
The doublet, simply put, is just a dipole. The difference is that you feed it with a balanced feeder, rather than coax.
Hams have been using doublets for many years. The earliest reference I could find in the ARRL QST archives was from September of 1929.[1] In this write-up, Clair Foster W6HM describes a 40M doublet fed with twisted wire lamp cord used for receiving.
Advantages of the Doublet
The balanced feeder provides some advantages. Depending on how it’s constructed, it can withstand higher SWR with lower losses than coax. Because of the low losses at high SWR, you can use the doublet as a multi-band antenna.
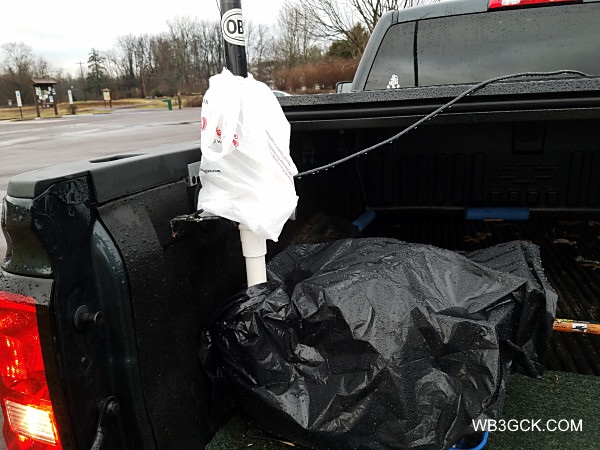
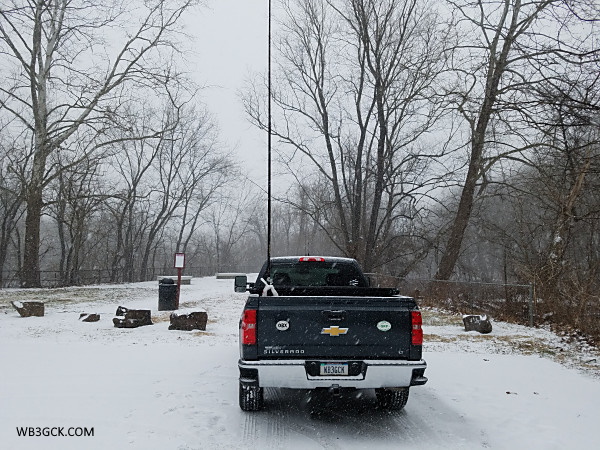
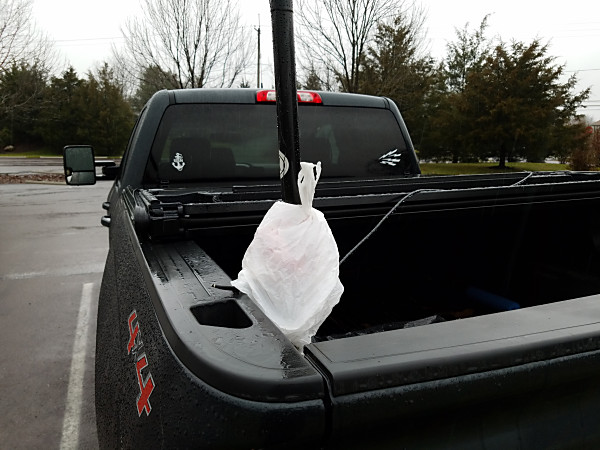
As a portable antenna, it’s hard to beat, especially as an inverted vee. Use a tree branch or telescopic pole to hoist up the center, tie off the ends, and you’re in business. [2]
Some Disadvantages
This multi-band capability comes with some disadvantages, though. Fortunately, none of them are insurmountable.
First, you’ll need a transmatch that can handle balanced feedlines. Typical commercially-available feedlines have either 300 or 450-ohm characteristic impedances. For open-wire feedlines, the impedance can sometimes be 600 ohms or more.
I’ve had success using a homebrew Z-match tuner. Companies like Pacific Antenna and QRP Guys sell Z-match tuner kits that will handle balanced lines. They offer tuners that are small and light enough for QRP-portable use.
You can also use a balun to transition from the balanced feedline to 50-ohm coax. While this isn’t an optimum approach, it works. Textbooks often recommend a 4:1 balun, and that’s a good starting point. If you go this route, I recommend keeping the coax as short as practical. If you run into matching problems on some bands, try another balun ratio (e.g., 1:1), or change the length of your feedline.
The second drawback is that you need to be careful of how you route balanced lines. You need to avoid getting it too close to metal or laying it on the ground. Both can upset the line’s balance. This can cause it to radiate or introduce losses. If you have excess line, don’t coil it up. Operating outdoors, I found these restrictions aren’t very difficult to work around; you just need to be mindful of them.
Construction
Building the doublet is pretty simple. Many folks suggest making the doublet a half-wavelength long at the lowest band you intend to use. I’ve built one for 40M and it worked well on 40M and higher. Depending on your tuner, it may also be usable on the next lower band.
L. B. Cebik W4RNL (SK) popularized the 44-foot doublet for 40M-10M. According to Cebik’s analysis, this length produces a more consistent radiation pattern across the bands.
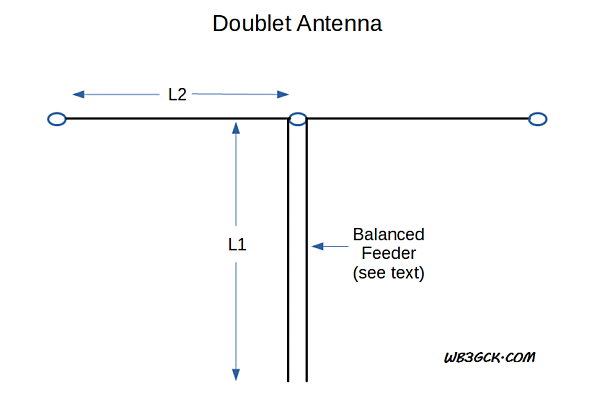
Regardless of the size of the doublet, you should try to avoid certain feedline lengths. One rule-of-thumb suggests avoiding combinations of feedline electrical length plus one leg of the radiator that are odd multiples of an eighth-wavelength. [3] If you run into matching problems, you can try adjusting the length of either the feedline or the radiating elements.
Feedline Options
You have several options here:
- Commercial 450-ohm or 300-ohm ladder line. These are commonly available, and they work great.
- Homebrew open-wire feeders. This is the most efficient option. If you do some Internet searching, you’re likely to find lots of ways to build open-wire feeders. SOTABEAMS has a great example on their website.
- TV twin-lead. I’ve used the cheap, brown stuff quite a bit for portable doublets. Unfortunately, it’s nearly impossible to find these days. If you come across it somewhere, stock up!
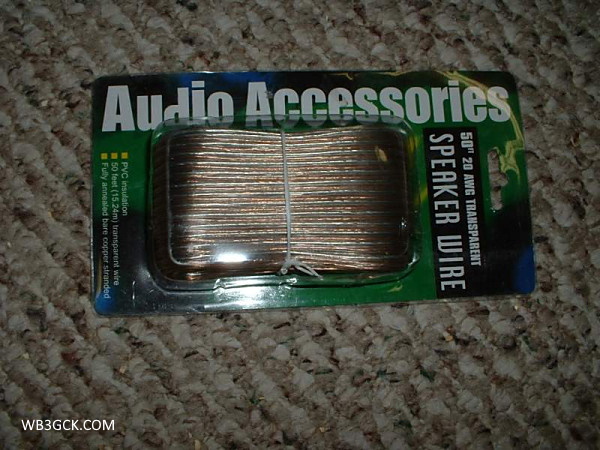
- Lamp cord or speaker wire. This works and I’ve seen folks use it for portable antennas. However, it can be lossy, compared to window line or open-wire feeders.
More Later
If you want more technical details on this antenna, information abounds on the Internet and in antenna books. In particular, Cebik wrote some great articles that are worth searching for.
In a future post, I’ll cover some practical examples that I have come across or used in the field.
73, Craig WB3GCK
References:
[1] Foster, C. W6HM (1929, September). Experimenters’ Corner: The “Doublet” for Receiving. QST, p. 39.
[2] DeMaw, D. W1FB (1991). Technical Bits & Pieces. In W1FB’s QRP Notebook (2nd Ed., pp. 157–161). Newington, CT: QST.
[3] Heys, John D., G3BDQ (1989). Center-fed antennas using tuned feedlines. In Practical Wire Antennas. Bedford, UK: Radio Society of Great Britain, p 7.