I’m at the stage in my life when I should be “thinning the herd” when it comes to radios. So, what do I do? Instead of getting rid of some stuff, I fire off an order to Elecraft for a KH1 Edgewood package. I need another QRP rig like a hole in the head, but after considering it for the past year, I gave in and ordered one.
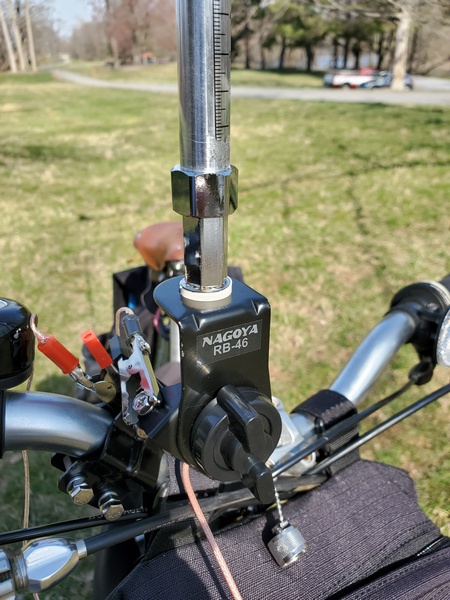
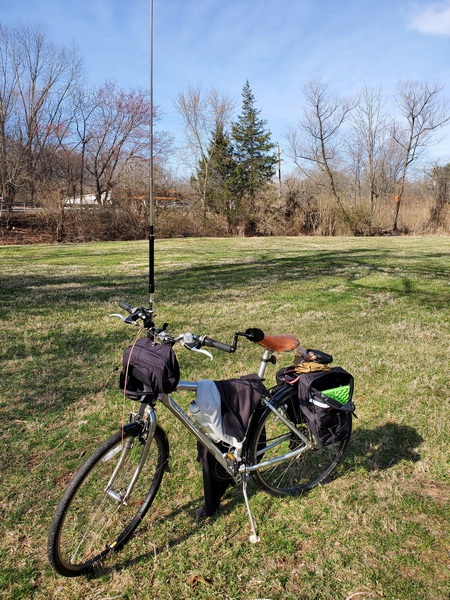
I have a couple of use cases in mind for the KH1. This rig should be ideal for bicycle-portable outings and hopefully get me out on some hiking trails—within the limits of my arthritic knee, of course.
I have to admit that after I placed the rig in my online shopping cart, it took me several minutes to convince myself to press the “Submit” button. Less than 24 hours later, I received a shipping notice from Elecraft.
While waiting for the KH1 to arrive, I watched a bunch of YouTube videosread serveral blogs, and downloaded the manual. With those resources, I was thoroughly prepared when the Post Office delivered it.
What I wasn’t prepared for was exactly how tiny this thing is. Even with the research I had done, I didn’t fully appreciate its diminutive size until I had it in my hand. It’s amazing how much functionality Elecraft was able to cram into this little rig.

Some Initial Impressions
Menus. I prefer radios that are simple to operate without a bunch of complicated menus. That’s one reason I love my Penntek TR-35 so much. There are a lot of menu options provided through the four pushbuttons on the KH1’s front panel. Elecraft, however, has come up with a scheme that makes navigating the menus very intuitive.
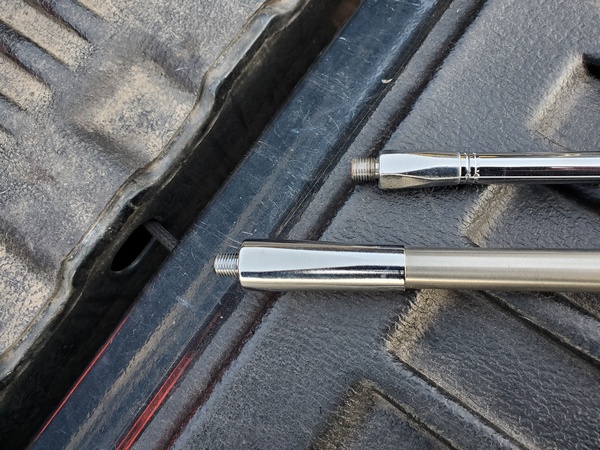
Paddles. The Elecraft KHPD1 paddles included with the Edgewood package will take some getting used to. I typically prefer paddles with a light touch, like my trusty Palm Mini paddles. I played around with the Elecraft paddles with the rig in the “Test” mode. It didn’t take too long before I could send coherent code with them. We’ll see how I do in the field. Fortunately, there are several after-market paddles for the KH1 if I decide to go that route.
Overall Ergonomics. It’s clear that a lot of thought has gone into the clever design of the KH1. Everything from the logging tray to the self-contained pen is nothing short of genius. I’ve never used a handheld HF rig before, so using the logging tray will take some getting used to.
Maiden Outing
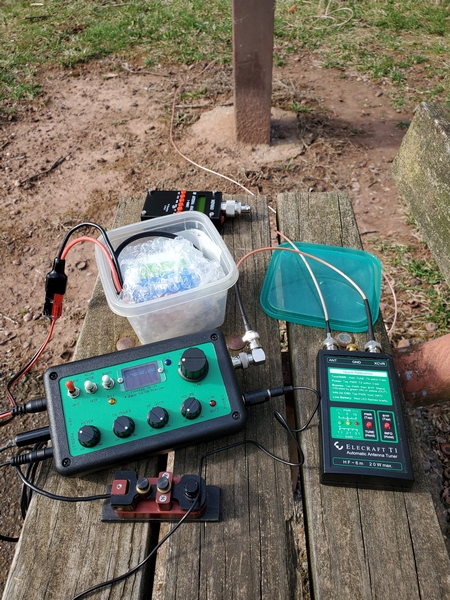
The day after I received the KH1, my (far) better half suggested I go out and give the new radio a try. Of course, I took her suggestion, but I had some reservations. There was some geomagnetic craziness going on, plus the higher bands could be tough early in the morning. Nevertheless, I packed up the KH1 and headed off to Valley Forge National Historical Park (US-0761, KFF-0761).
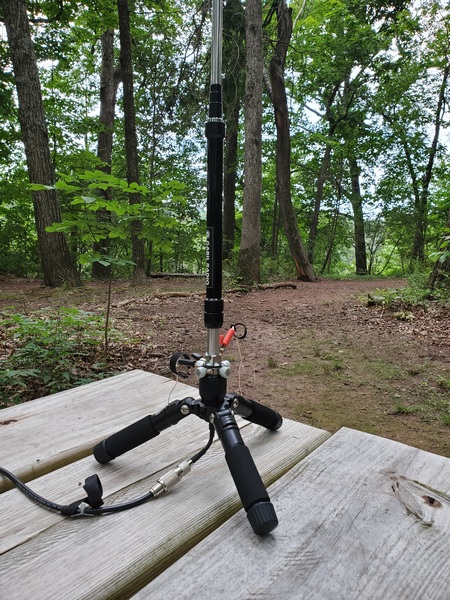
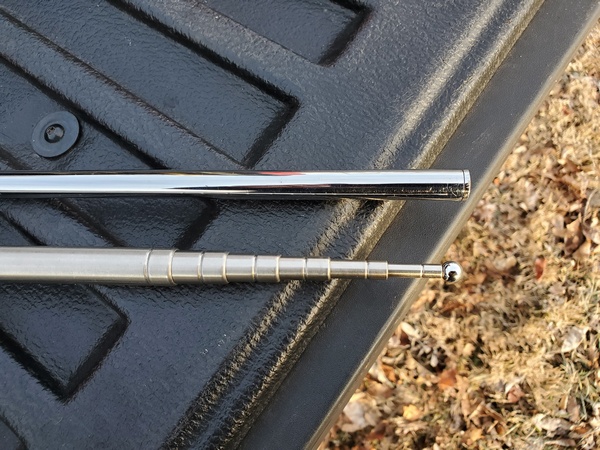
I started off using the KH1 handheld with the telescopic whip while sitting on top of a picnic table. Using the stock counterpoise wire on the ground, the KH1’s internal ATU easily found a 1:1 match. The bands were really rough, but I made seven contacts that way. It took the better part of an hour to make those contacts, however. Six were on 20M and one was on 17M.
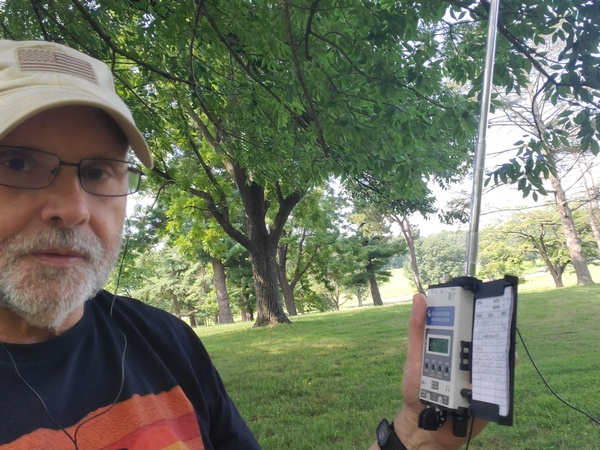
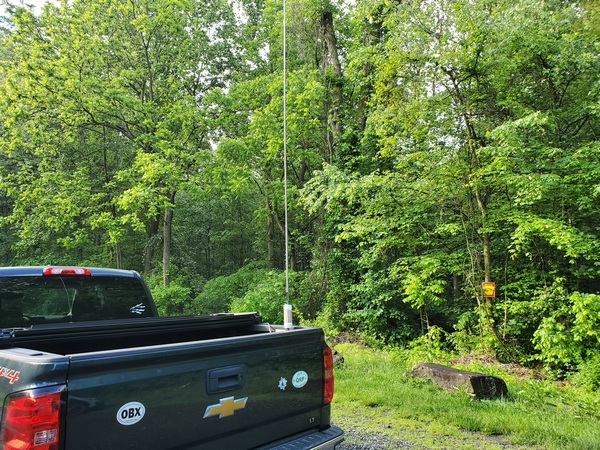
I wanted to try the lower bands—and my rear end was sore from sitting on the table—so I walked back to the parking lot and set up a 12-foot loaded whip on my truck. Sitting on a camp chair next to the truck, I bounced around the bands. I ended up with one contact on 40M and three more on 20M. Out of my 11 contacts, four were park-to-park.
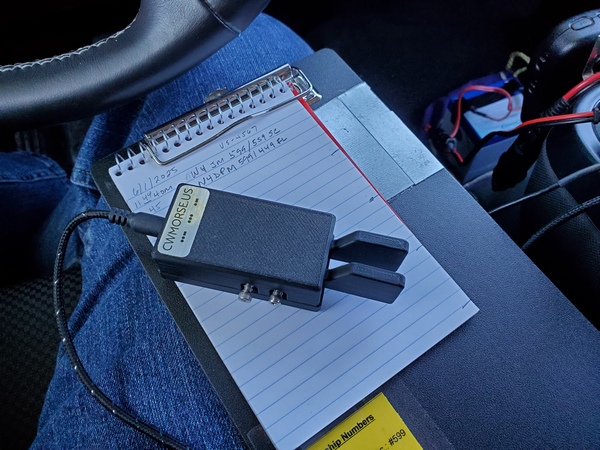
Using the logging tray was a challenge. Writing while holding the rig in my hand was tough. Sitting in a chair with the radio resting on my knee was a little easier. My handwriting was pretty sloppy but still readable.
With enough contacts for the activation, I declared victory and went home.
Wrap-Up
I’m definitely not an early adopter with new gear. The KH1 is no exception. Elecraft announced the KH1 in the fall of 2023. Since that time, they have made improvements to the paddle and added new features via the firmware. Plus, by waiting to buy one, I got to learn from the users who jumped on the KH1 bandwagon early on. Thanks to the legions of YouTubers and bloggers for sharing their experiences with this rig. You made it easy for me to get up and running with it.
After the intial outing, I am thoroughly impressed with the KH1. With earbuds, the receiver sounds great, and the rig was super easy to use.
This little rig is going to see a lot of future use in the field.
72, Craig WB3GCK