We recently wrapped up our first camping season with our little travel trailer. Over the past 6 months, I learned a few things about operating inside a metal box that has lots of electrical doo-dads inside.
Antenna
Over the 18 years of camping in a pop-up tent trailer, I evolved to a simple but effective vertical antenna, which was supported by the trailer. We basically used the old camper as a tent on wheels. It had few electrical amenities, so noise wasn’t an issue. Being mostly canvas, the pop-up camper had little influence on the vertical antenna I attached to it.
On our first trip with the new camper, I tried something similar. I used the new camper to support my vertical antenna. Bad choice. I quickly learned that the new travel trailer was a different animal. I made contacts but there were two main issues: 1) The camper is a big metal object and 2) it’s noisy as heck when plugged into AC power at the campsite.
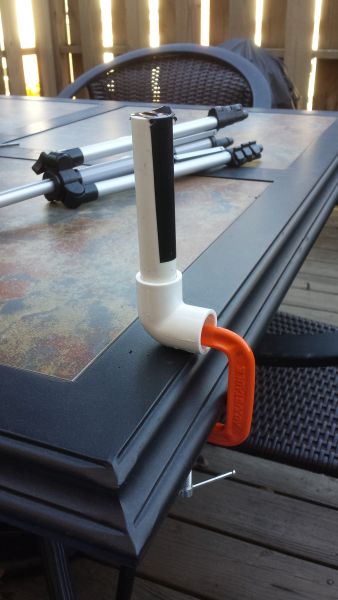
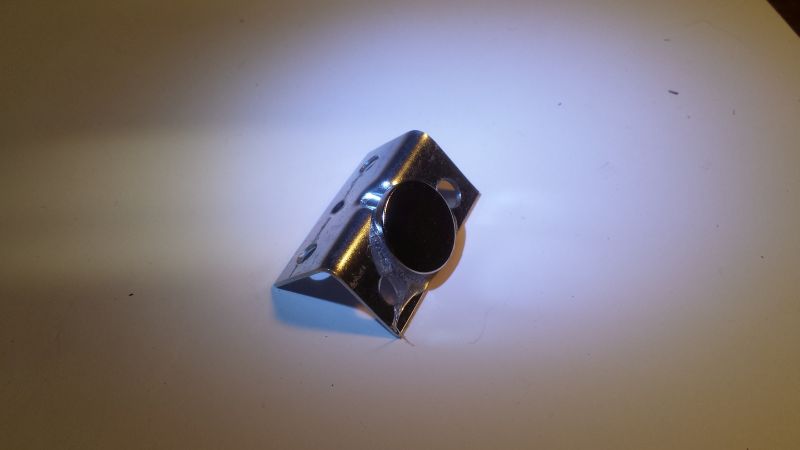
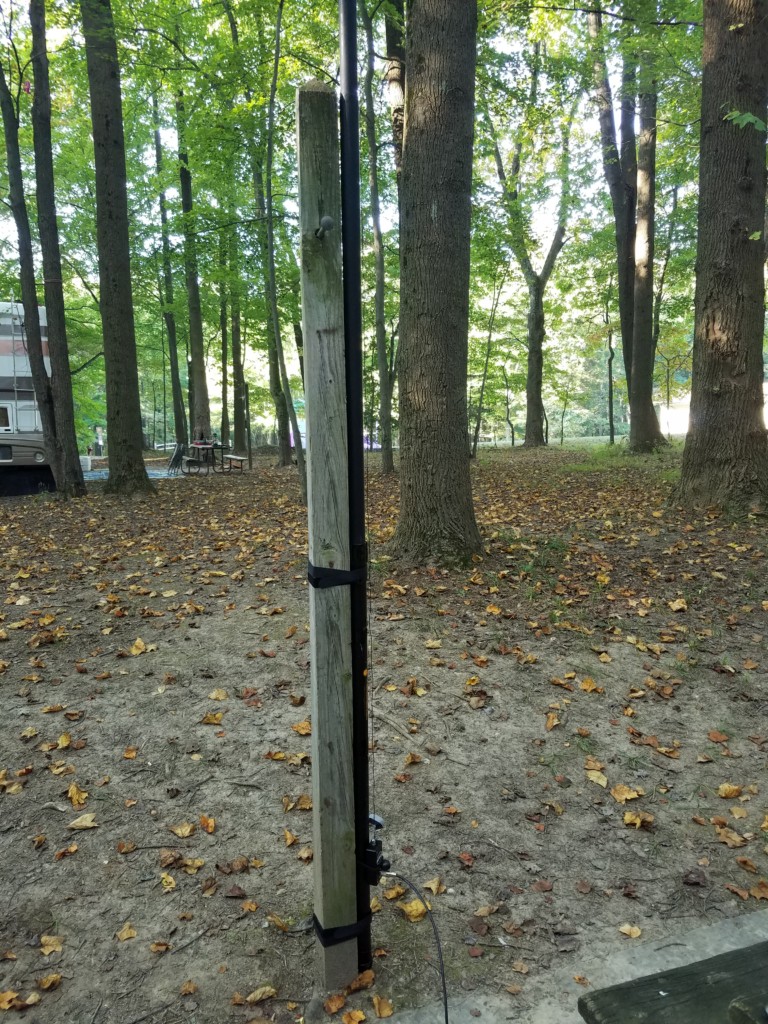
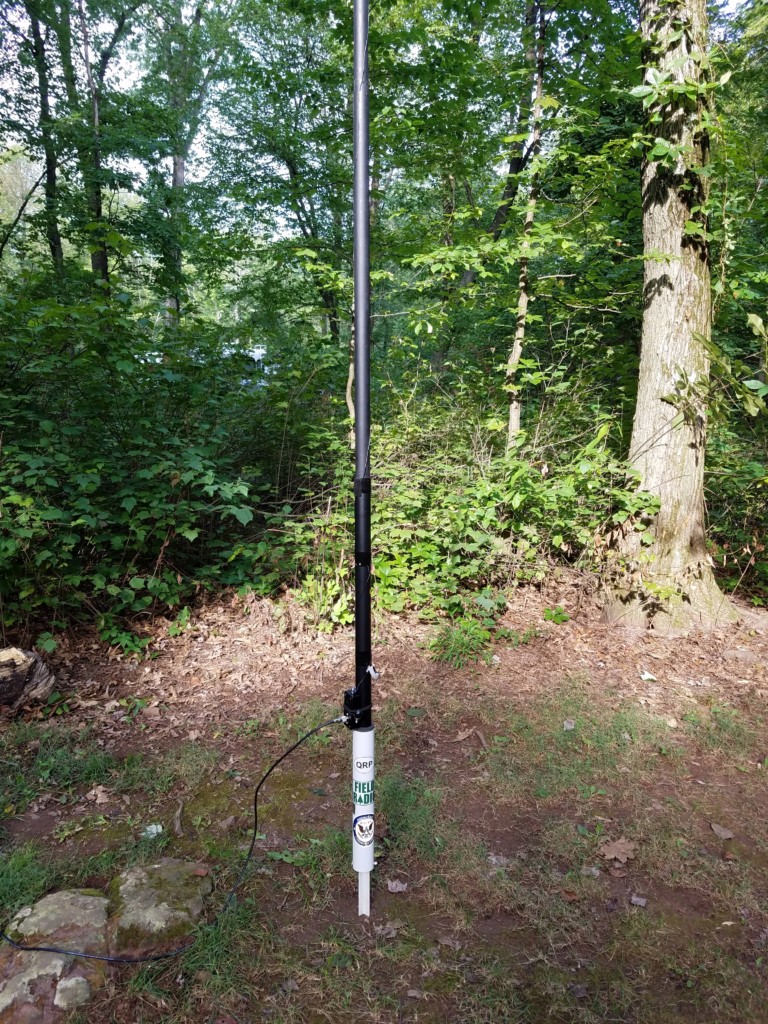
It became quickly apparent that I needed to keep the antenna as far away from the trailer as possible. For most trips, I used a 29.5-foot vertical wire supported by a 31-foot Jackite pole. I fed it with a 9:1 unun and ran a 25-foot piece of coax into the trailer. In some campgrounds, I was able to strap the Jackite pole to a lantern post or other object. Otherwise, I used my Jackite ground mount. (Unfortunately, Jackite no longer sells this ground mount.)
This set up worked well for me. There’s still some intermittent noise on 40 meters but it’s still usable. The other bands are pretty quiet. A pleasant surprise is that my KX3 loads up this antenna on 80 meters and the noise there is very low. I’ve had some nice late night/early morning contacts on 80 meters. On trips when we camped without an electrical hookup and used battery power only, I had no issues at all with noise.
Radio Location
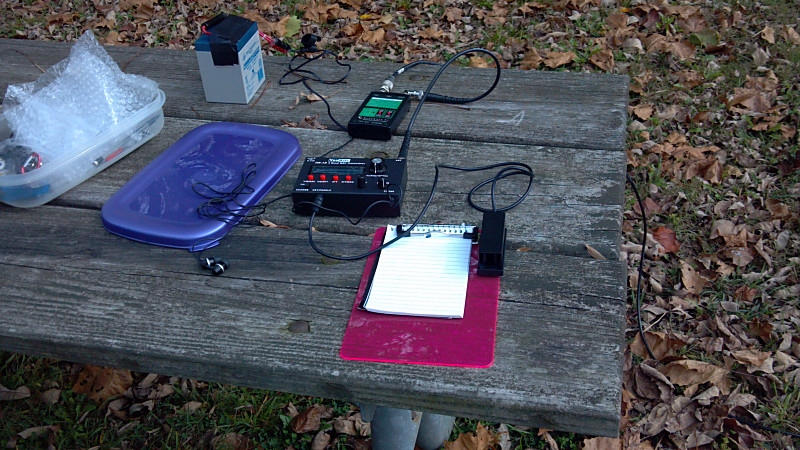
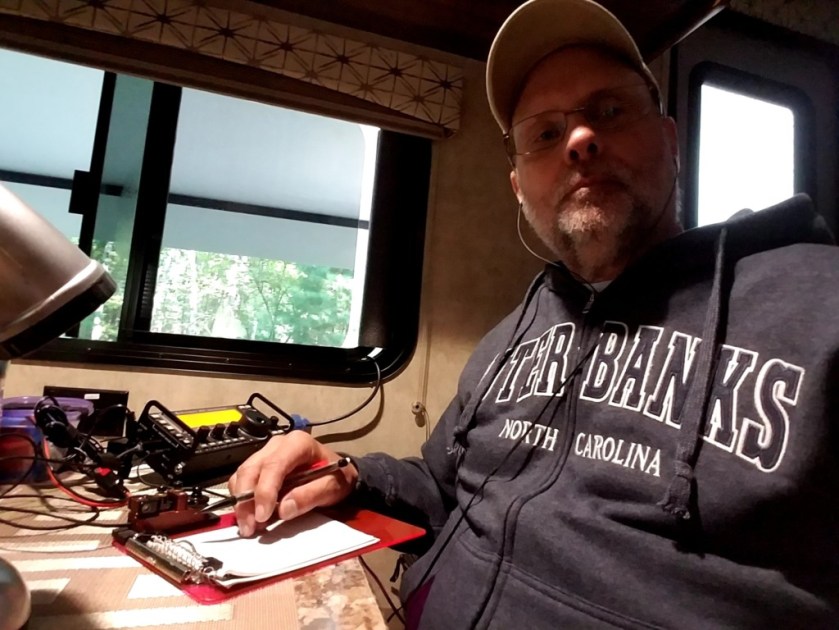
When the weather is decent, I prefer to operate outside of the camper, either from my camp chair or picnic table. However, when the weather is cold or rainy, I seek the shelter of the camper.
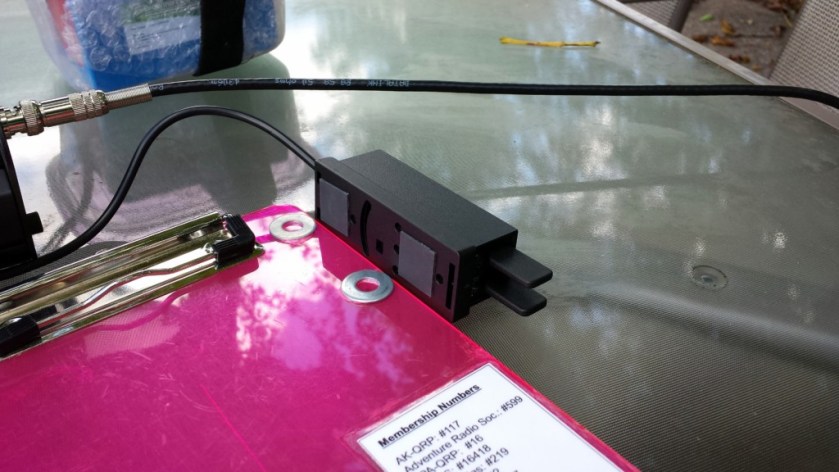
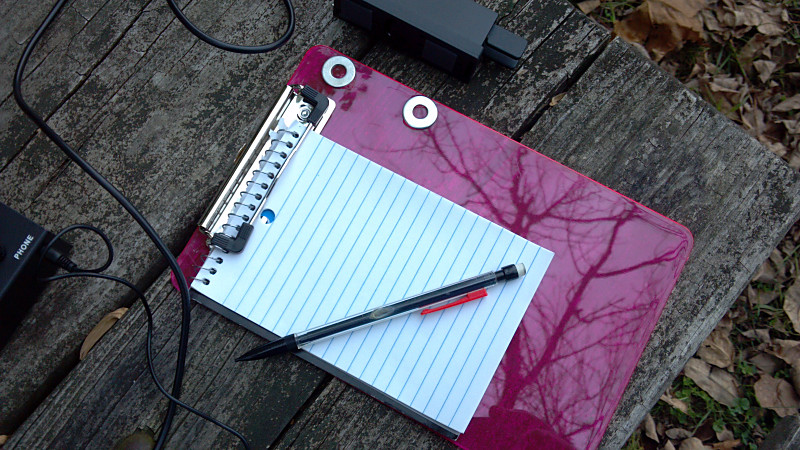
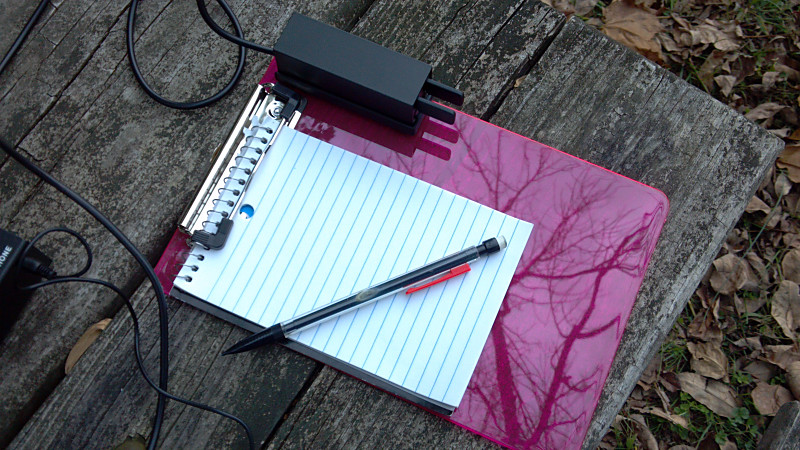
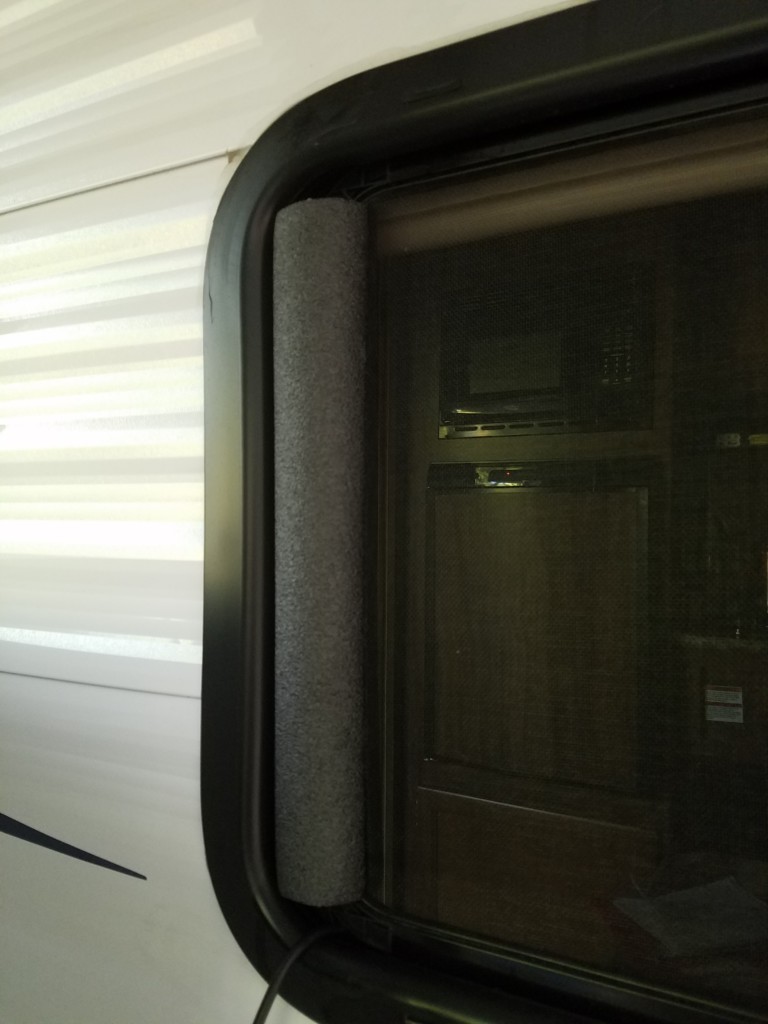
Initially, my big dilemma was routing a coax cable into the trailer. I really didn’t want to drill holes in a brand new trailer so I took the easy way out. There’s a conveniently located window next to the dinette table, so I brought the coax through there. To keep the bugs and inclement weather out, I used a piece of pipe insulation to help close up the gap. This window is also under the awning, so I get some additional weather protection there. The dark-colored pipe insulation isn’t very noticeable, so my set up is “XYL-approved.”
Wrapping It Up
So, now it’s time to Winterize the trailer and put it into hibernation until Spring. Over the Winter, I’ll have lots of time to look into other antenna options I can try next year.
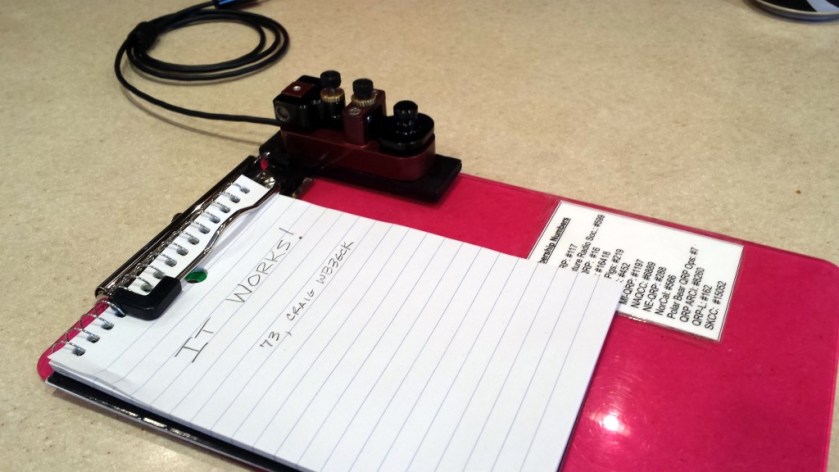
73, Craig WB3GCK
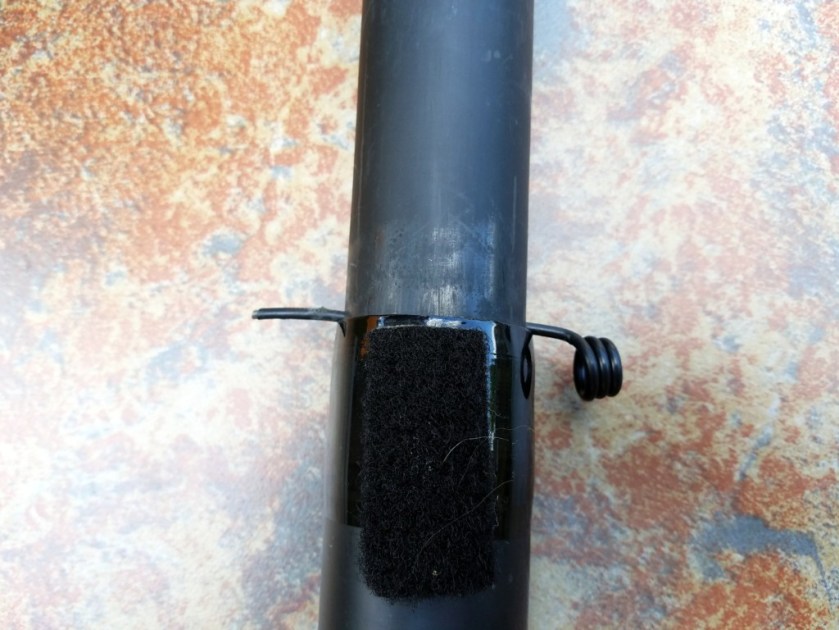
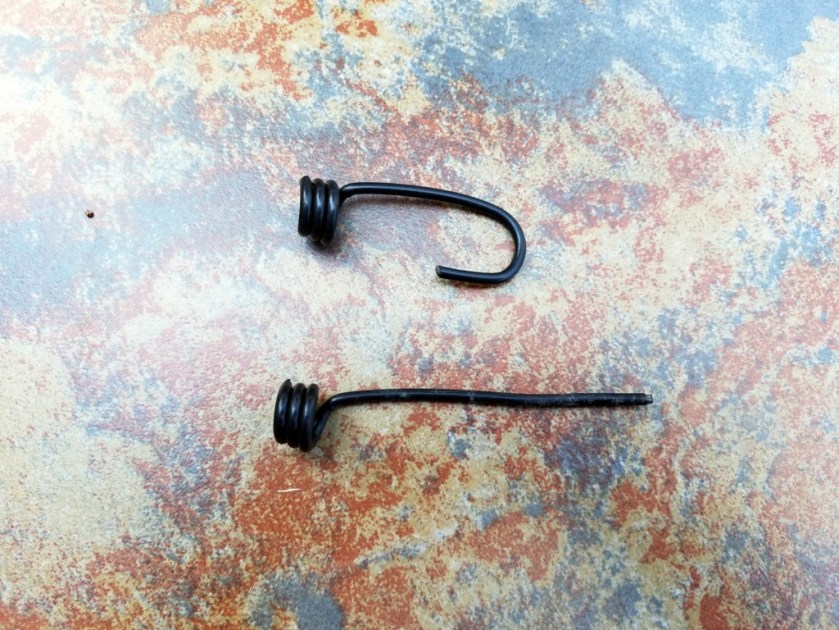
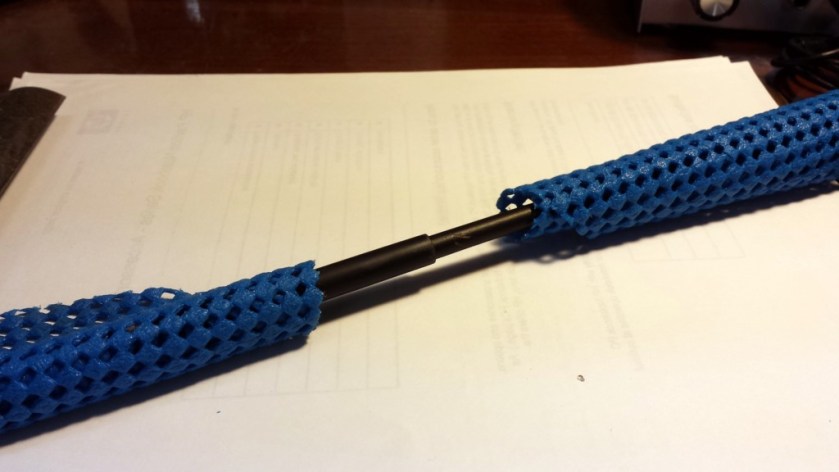
 Here’s how it works. When the pole is fully extended, I just slide a pin through the two holes to prevent the pole from collapsing. For the pin, I used a hook from a bungee cord that I straightened out, using a pair of pliers. The resulting pin is just the right size and it has a nice rubberized coating on it. You could, of course, use something else (a nail, a piece of wire, etc.) for the pin.