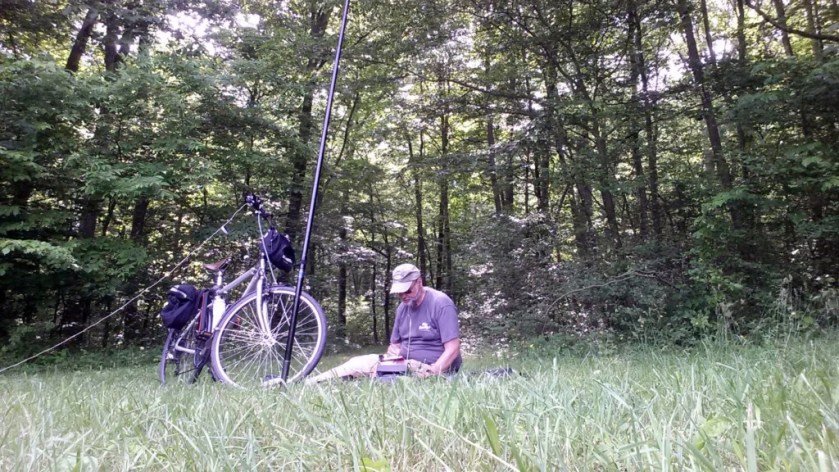
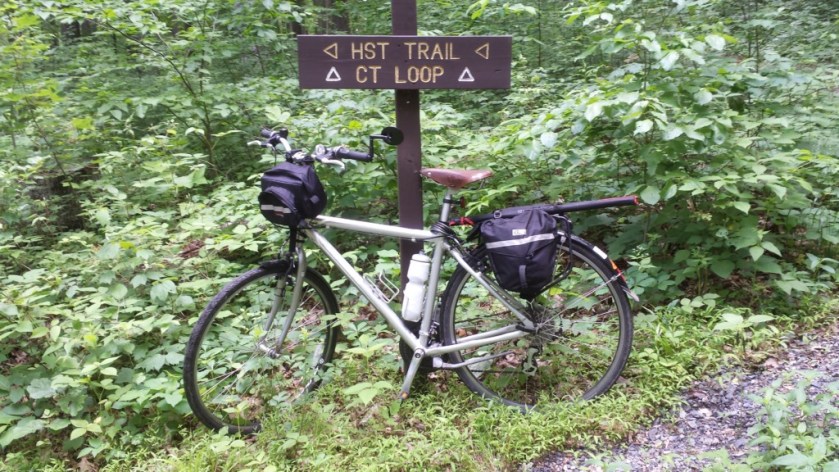
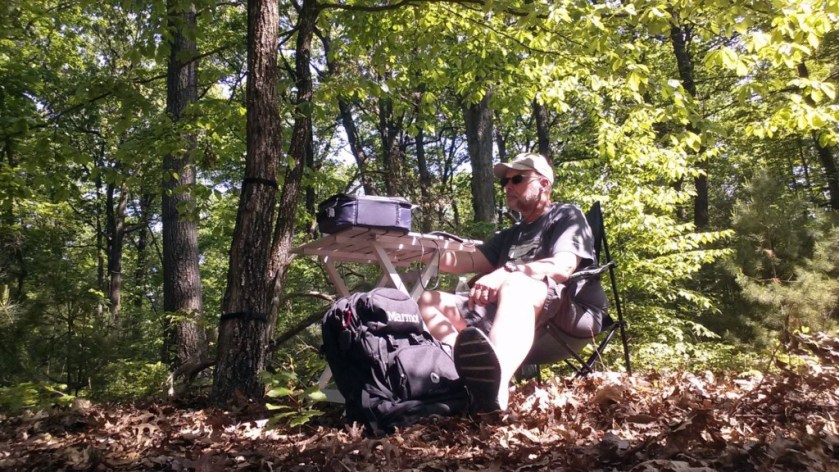
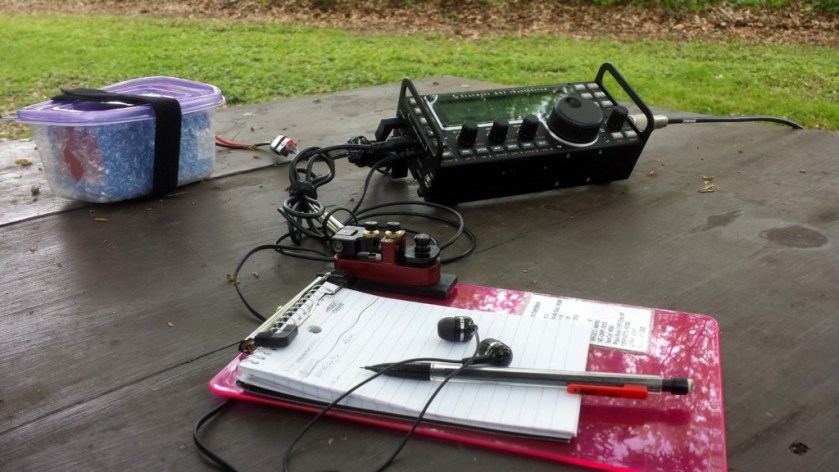
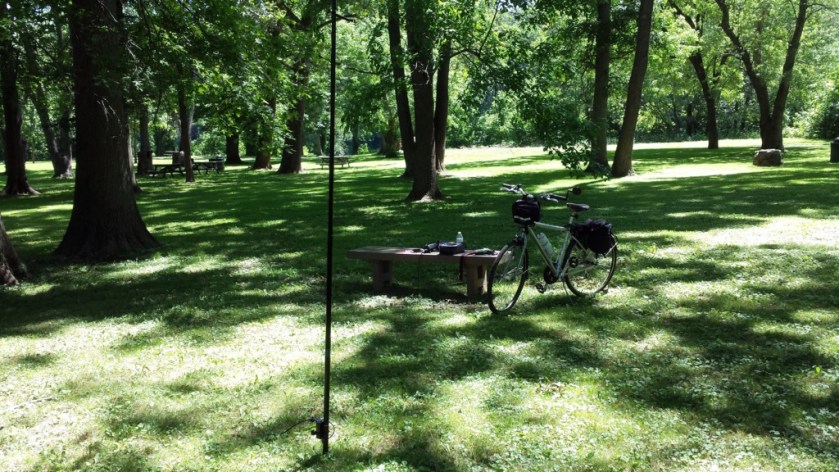
I took advantage of some great weather this morning to get in a bike ride at one of my favorite places to ride. The Perkiomen Trail is a nicely paved, multi-use trail that parallels the scenic Perkiomen Creek. I did an 8-mile out-and-back ride this morning. On the way back, I stopped in the Lower Perkiomen Valley Park to do a little QRP-portable.
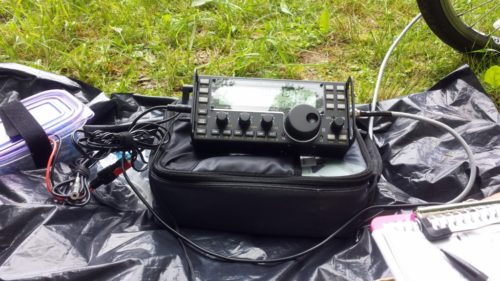
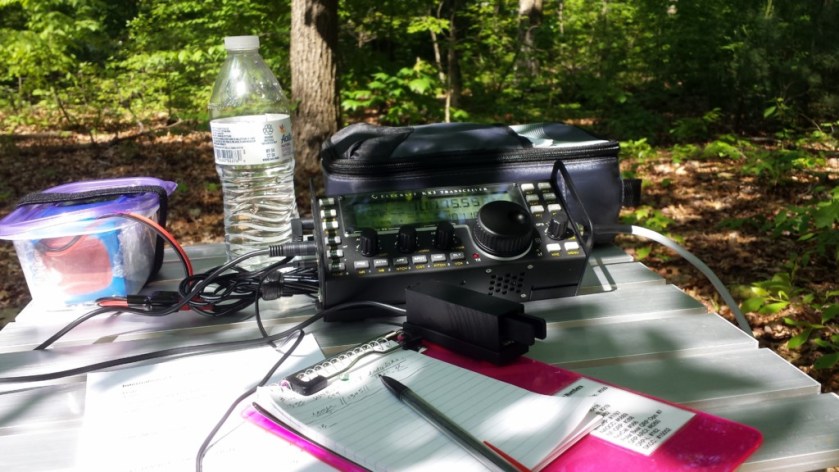
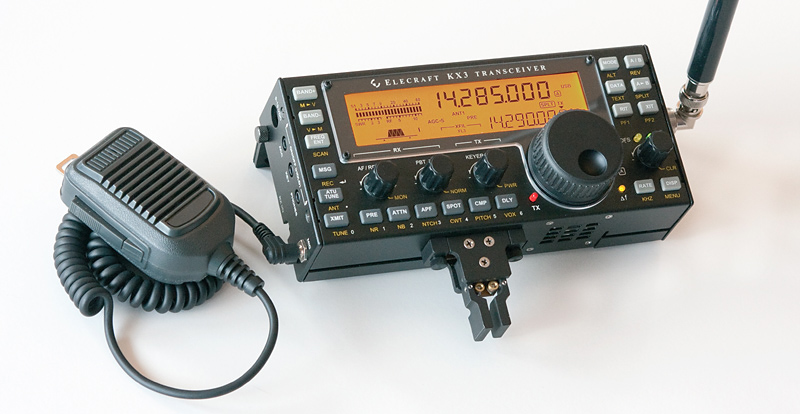
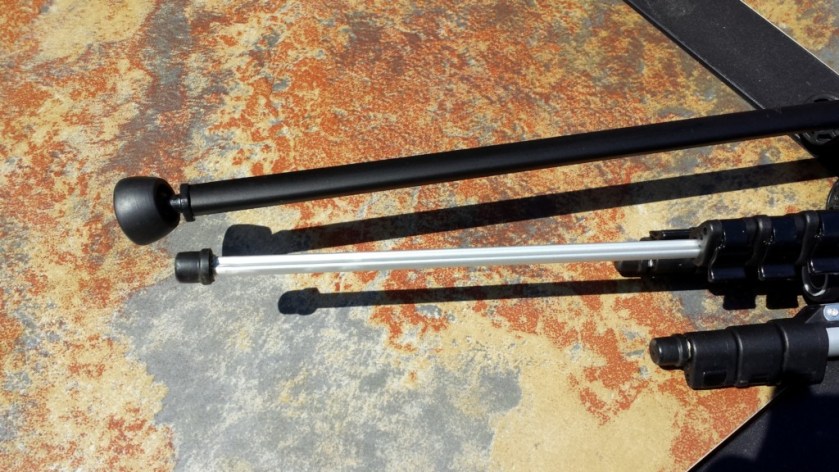
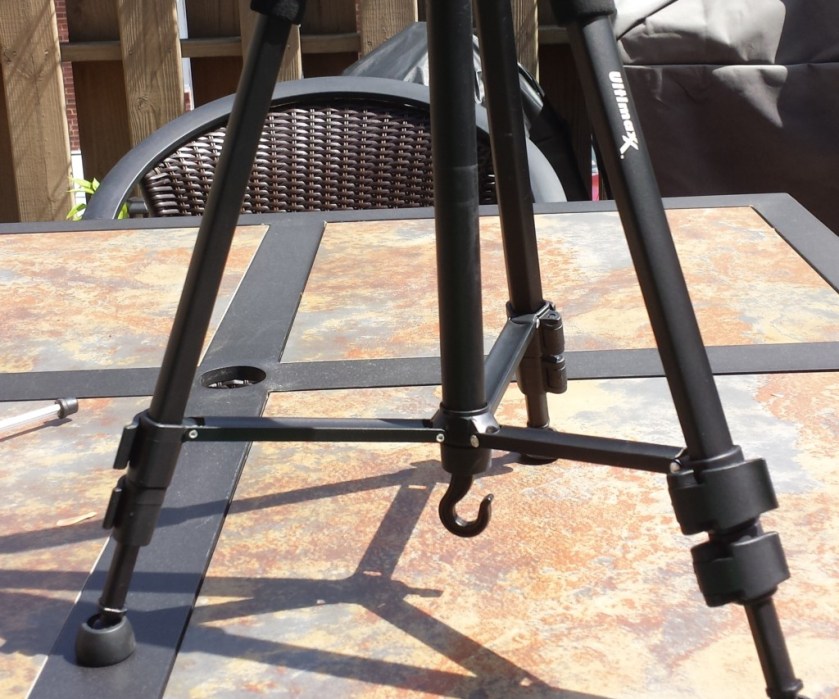
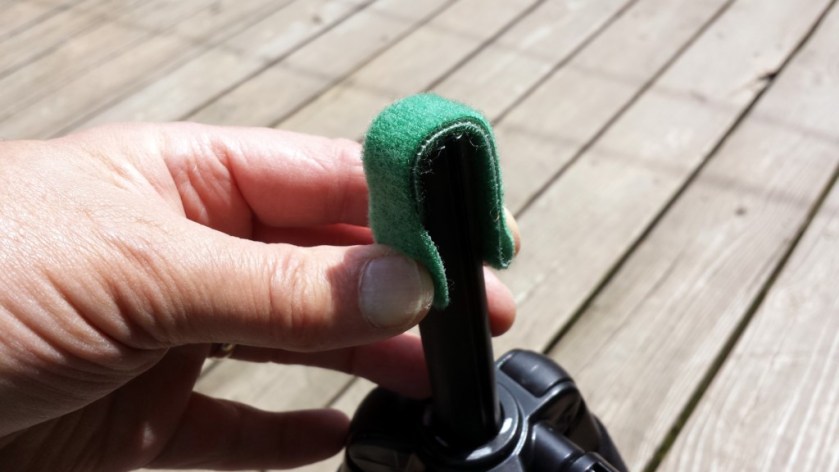
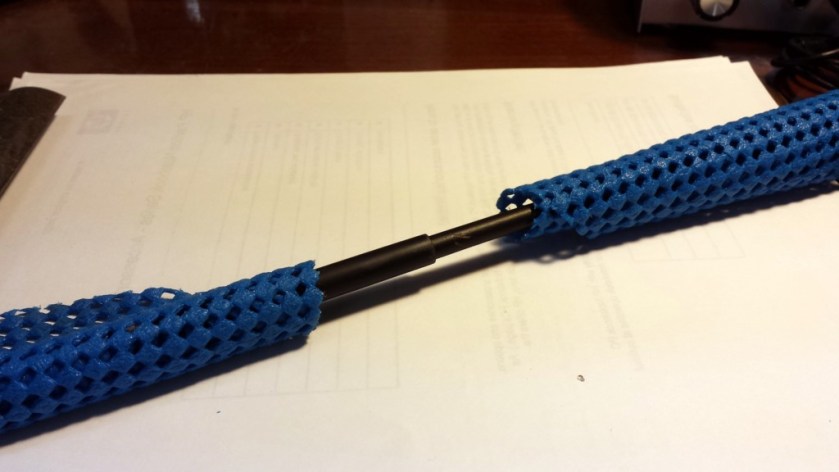
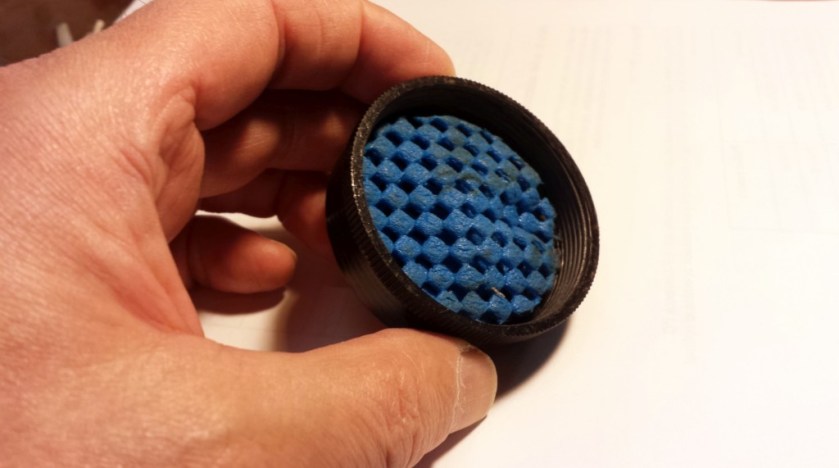
I was using another experimental antenna today. I figured my short 19-foot vertical would do reasonable well on the higher bands and would at least be somewhat usable on 40 meters. The KX3 had no problems loading it up from 40 through 6 meters. A quick check of the Reverse Beacon Network showed more spots on 40 meters than the higher bands. That seemed to track with what the Band Conditions website was showing at the time. With the deep QSB on the bands, I really couldn’t tell how well the antenna was working.
On 30 meters, I heard WB8AJR calling CQ from Akron, Ohio. It took a few tries for him to get my callsign and we struggled to exchange our basic information. His signal was ranging from a solid 579 down to barely perceivable. So, I’m sure my 5 watts and short vertical dropped out completely when the band dipped.
On 40 meters, I faintly heard N2CX coming on the air for an NPOTA activation. I tried calling a few times with no success. After a few minutes, lots of chasers started showing up and I moved on.
Up on 20 meters, I heard Paul W0RW calling CQ with a special event callsign, W7L. After several calls, I think he recognized my callsign. He gave me a 339. He was about the same but the QSB was very deep on 20 meters. It didn’t sound like he got my information. [Update: Paul emailed me the next day saying I made it into his W7L log.]
The nice part about combining ham radio with cycling is that when the bands aren’t cooperating, I at least get some nice scenery and a little exercise.
72, Craig WB3GCK