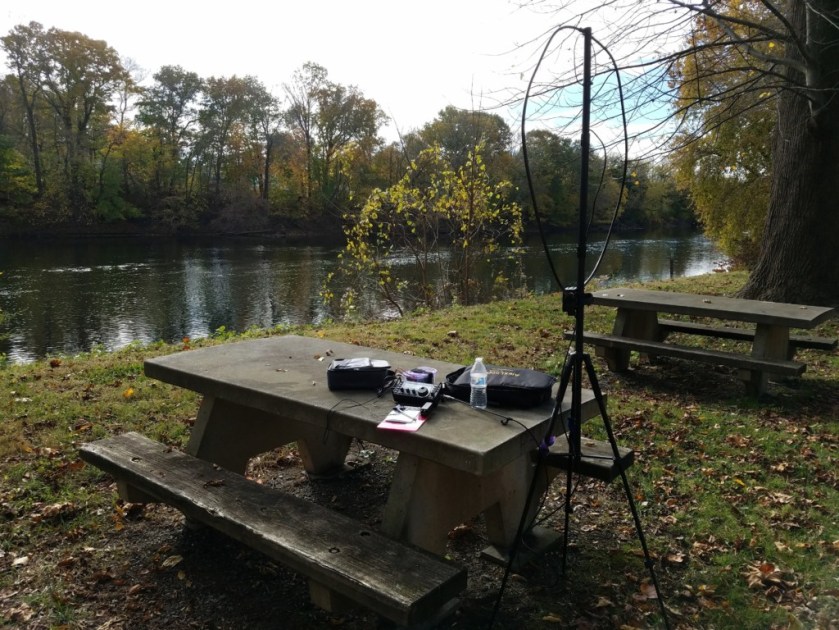
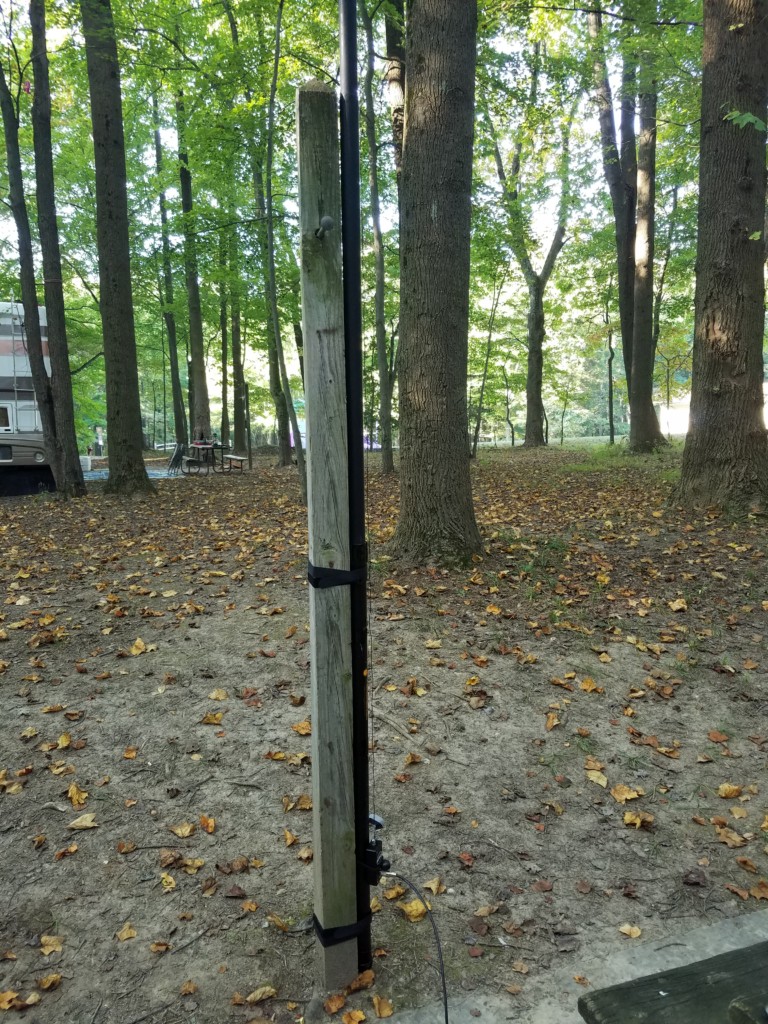
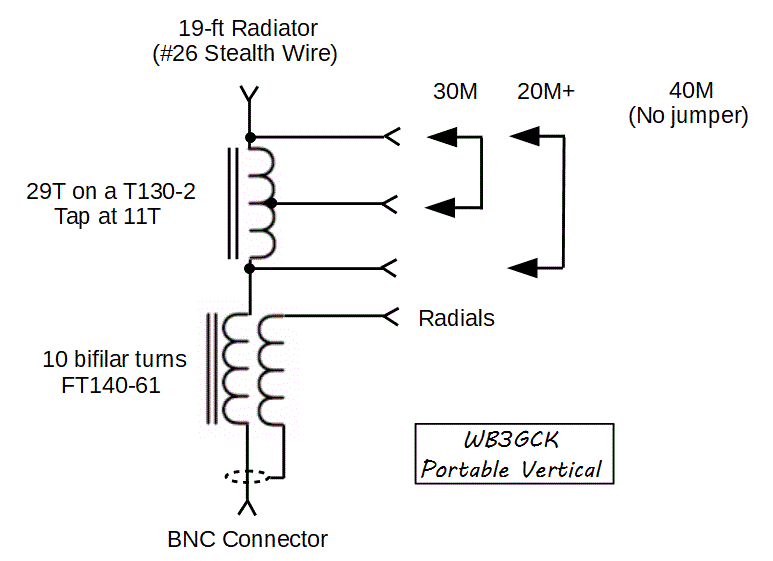
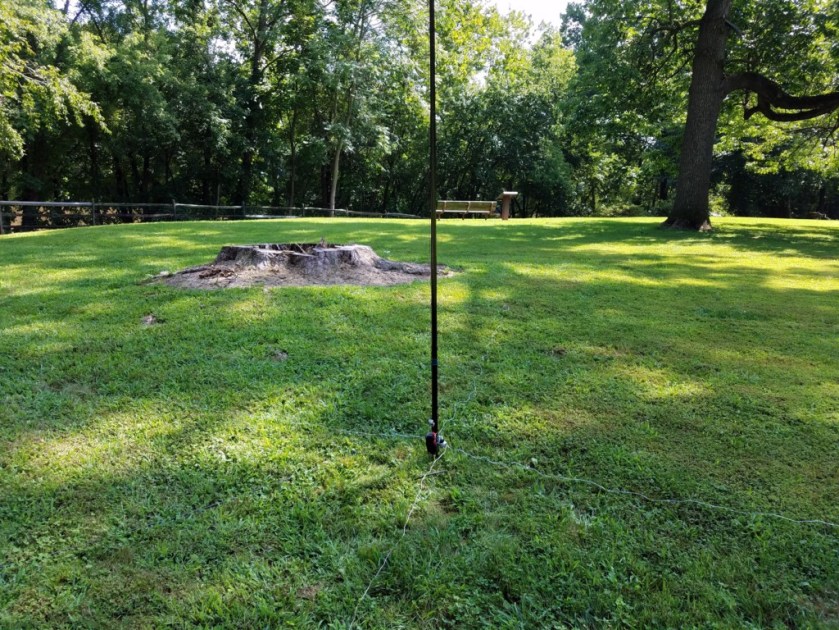
Earlier this year, I built a lightweight, 19-foot vertical. Intended for tripod or ground mounting, I did the initial tuning and pruning of the vertical in that configuration. Today, I thought I’d see if it would work mounted on my pickup truck.
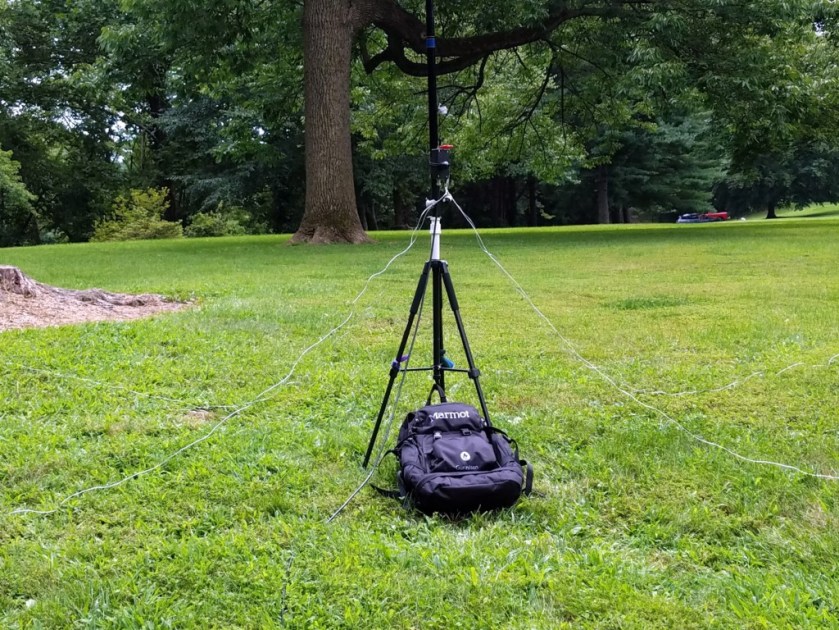
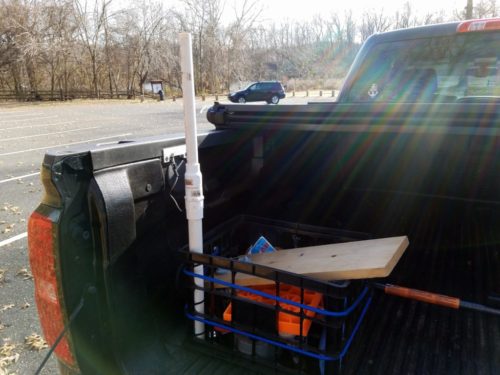
I have this plastic crate that I keep in the bed of the pickup truck. I use it to hold parts for my drive-on antenna mount, along with some tools and miscellaneous “stuff.” I hold the crate in place using bungee cords attached to a cargo bar that spans the width of the bed. I decided to make use of the crate as a quick and dirty antenna mount.
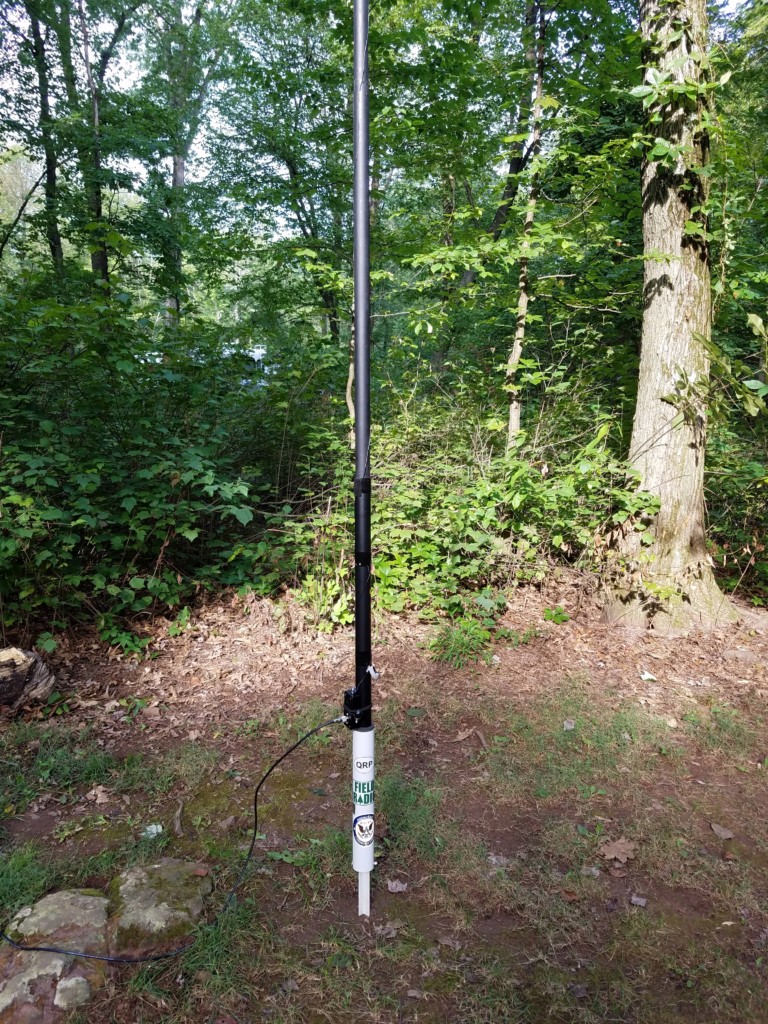
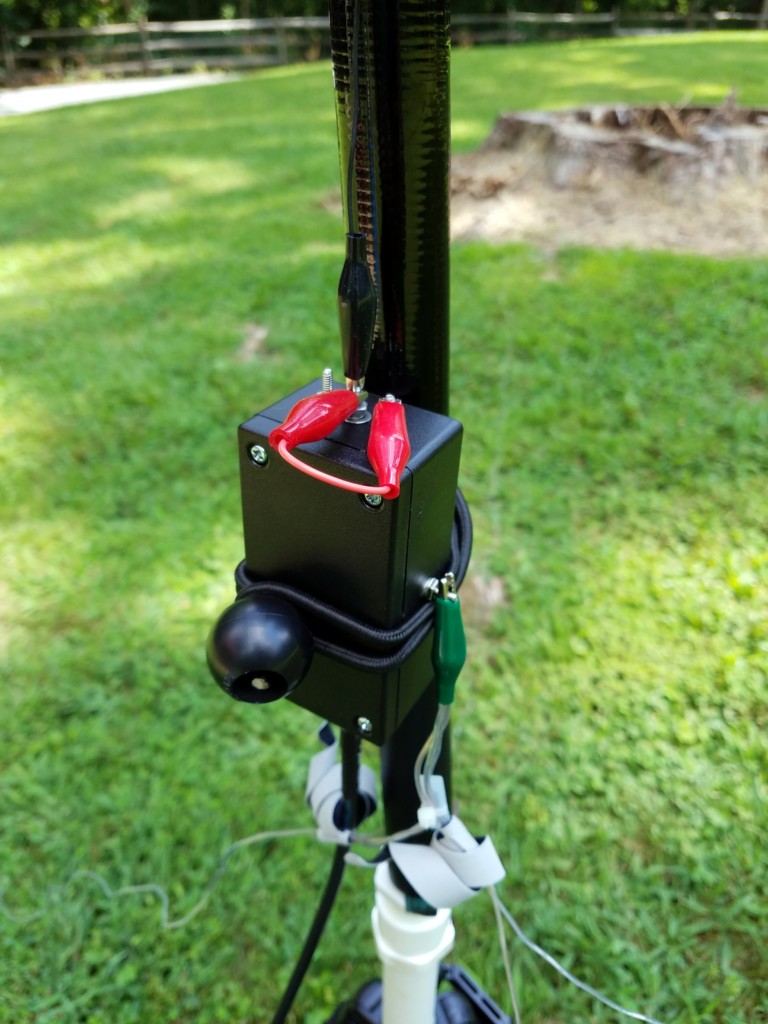
I took some 1-inch PVC pipe with a female threaded coupler from a previous antenna project and attached it to an inside corner of the crate with heavy-duty zip ties. I kept this part short enough to fit underneath the tonneau cover when traveling. To mount my 20-foot Black Widow pole, I used a 1-inch PVC male coupler and a reducer to go down to a 3/4-inch PVC pipe. The 3/4-inch PVC pipe fits nicely up inside the Black Widow pole. I went with the Black Widow pole rather than the lighter weight pole I normally use with this antenna since I already had all the PVC parts I needed to mount it.
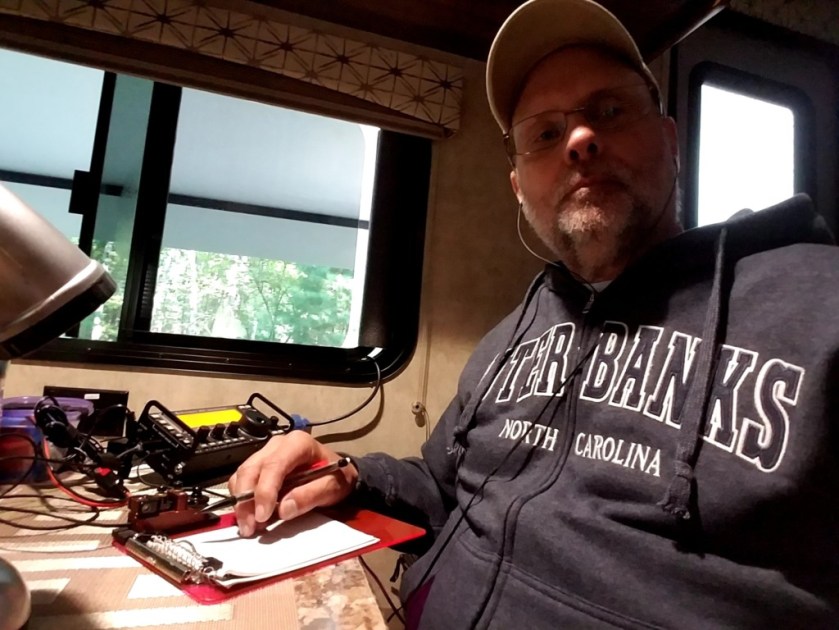
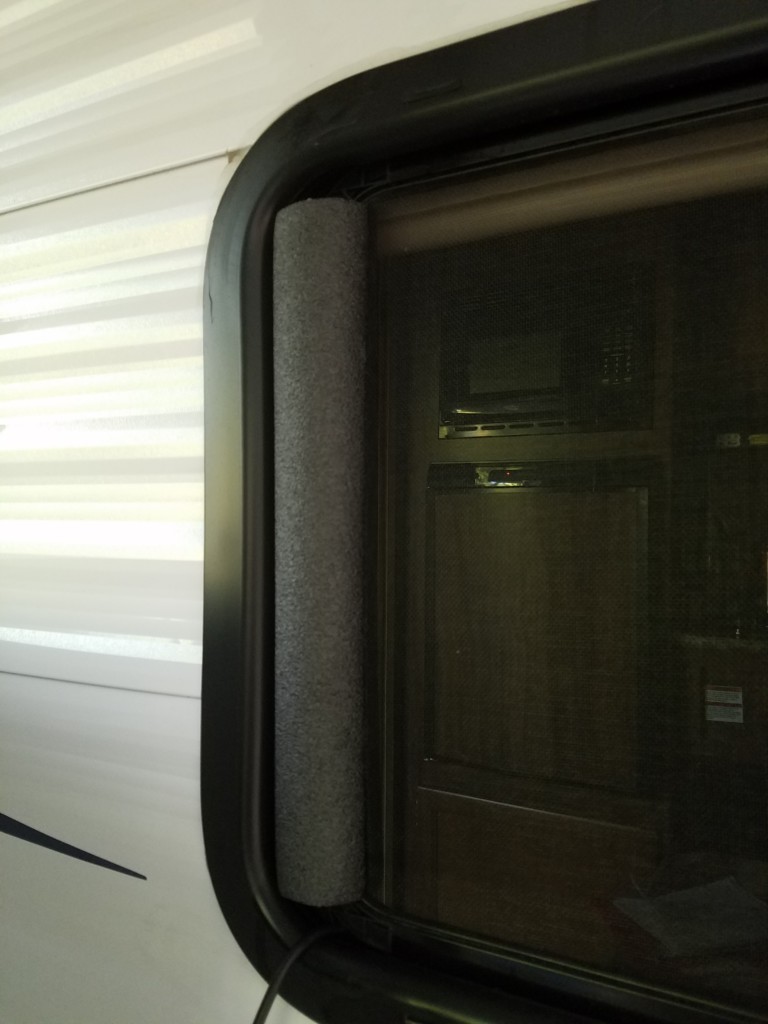
I headed out to a local park today to give it a try. It only took a few minutes to get it set up. From the antenna, I ran some RG-8x coax through a window and into the cab of the truck. I connected the antenna ground to the body of the truck using a short piece of braid to a metal plate used to latch the tonneau cover closed.
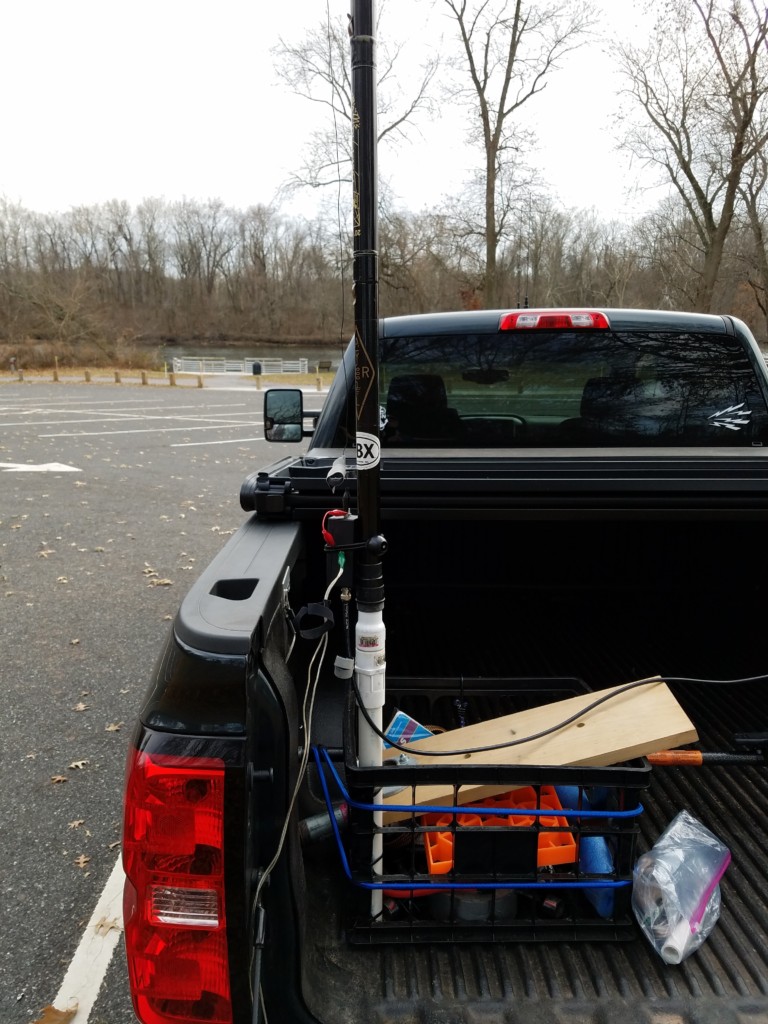
I fired up my antenna analyzer and the SWR was off the charts. On closer inspection, I found the plate I was using for my ground wasn’t actually attached to the body of the truck. Instead, I connected two radials and ran them off the back of the truck. This time the SWR on 40 and 30 was much better. The resonant frequencies in this configuration were higher than when ground-mounted but my KX3’s internal tuner easily handled the minor mismatches.
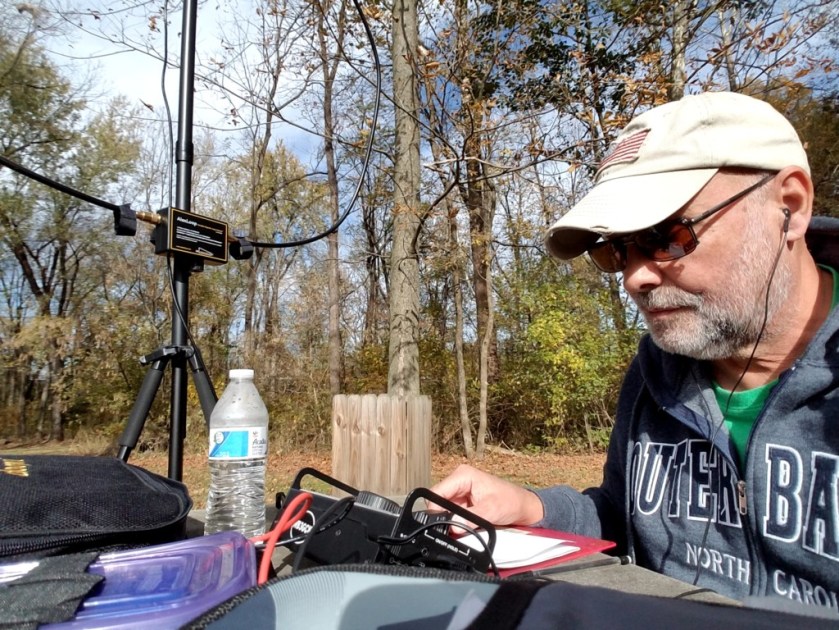
I started out on 20 meters where this antenna operates as a random wire. I heard N5PHT doing a Parks on the Air (POTA) activation (KFF-3023) down in Texas. I gave him a call and exchanged reports. Moving down the band, I worked XE1XR in Mexico. So, the antenna seemed to be working fine. I checked 30 meters but it was devoid of activity.
Down on 40 meters, I had a nice ragchew with Bernard VE9BEL. Bernard was operating a club station (VE9CRM) in New Brunswick, Canada. He gave me a 599 and said I was “booming” into New Brunswick. Not bad for 5 watts into a 19-foot loaded vertical. I last worked Bernard a few years ago from Mt. Misery in Valley Forge National Park. We had strong signals both ways on that day, too.
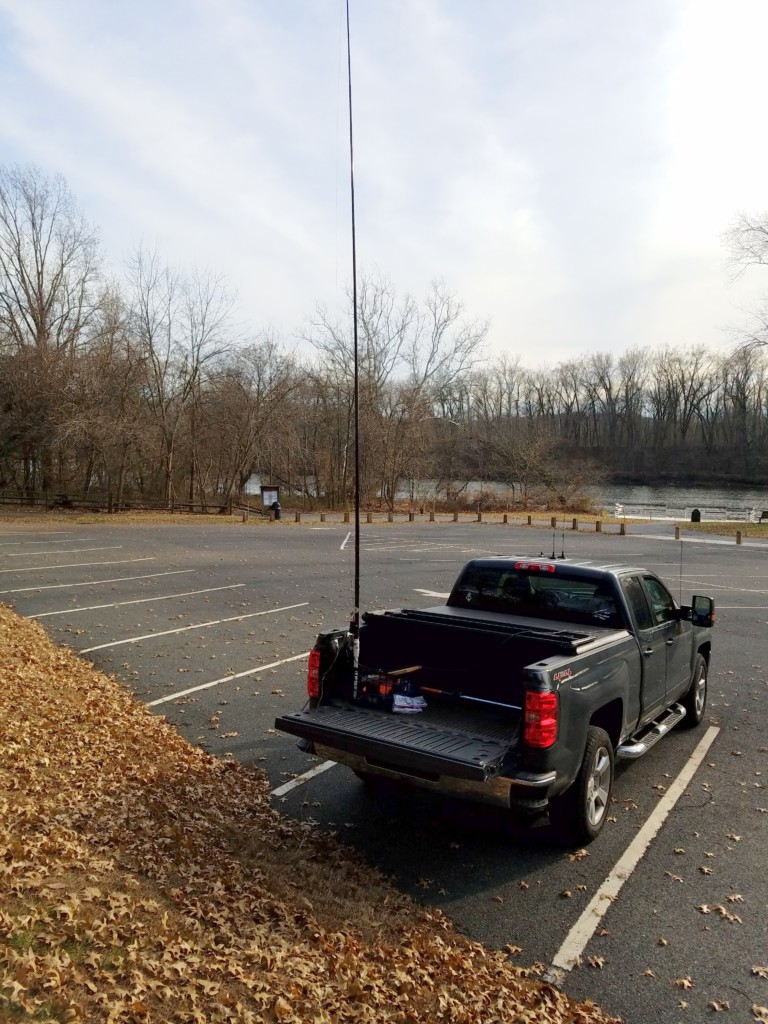
So, it looks like this antenna is usable from the truck. I still need to find a way to connect the ground to the body of the truck. If possible, I’d like to avoid drilling holes in my new truck. This antenna is a little easier to deploy than my usual “Bike Rack Vertical.” The downside is I have to exit the truck to change bands. Life is a series of trade-offs, I guess.
73, Craig WB3GCK